GRA 2 Week 2 LT 2.1 & 2.2

LT 2.1

For this task, you need to create a website strategy document for your fictitious client in CA01 (refer to Module 1, Lesson Task 1.1).

Use your brief from Module 1, Lesson Task 1.2, to guide you. Note the areas you need to cover below. Since this website strategy isn’t for an actual client (you have created a fictitious client), you’ll need to determine the type of client to complete the information for your document.

Only the criteria relevant to your CA has been listed below.

Company overview:

  • Who are they and what do they do?
  • What are their products and/or services?
  • How big are they?
  • Who is their target audience?

Strategic:

  • What led to the decision to create their website?
  • Who are their competitors and/or benchmark brands?
  • What are they hoping to achieve with the website?

Technical Details:

  • What is the domain name? (This can be a mock domain name because you can decide where and how you would like to host it for your CA.)
  • What is the scope of the site that was decided upon?
  • What social media links should be included?

Design:

  • Do they have a particular design style in mind?
  • Are there any sites that they prefer in terms of design?
  • Do they have any preferences in terms of colour, font, imagery etc.?

Budget and timeline: (You can ignore the budget for the CA but it will be very necessary for an actual client.)

  • Do they have an estimated time that they would like their site to be live? (Here, you can include the timeline from the CA.)
  • Create a draft project timeline that outlines the progressive deadlines of all the various phases of the project up until the go-live date.
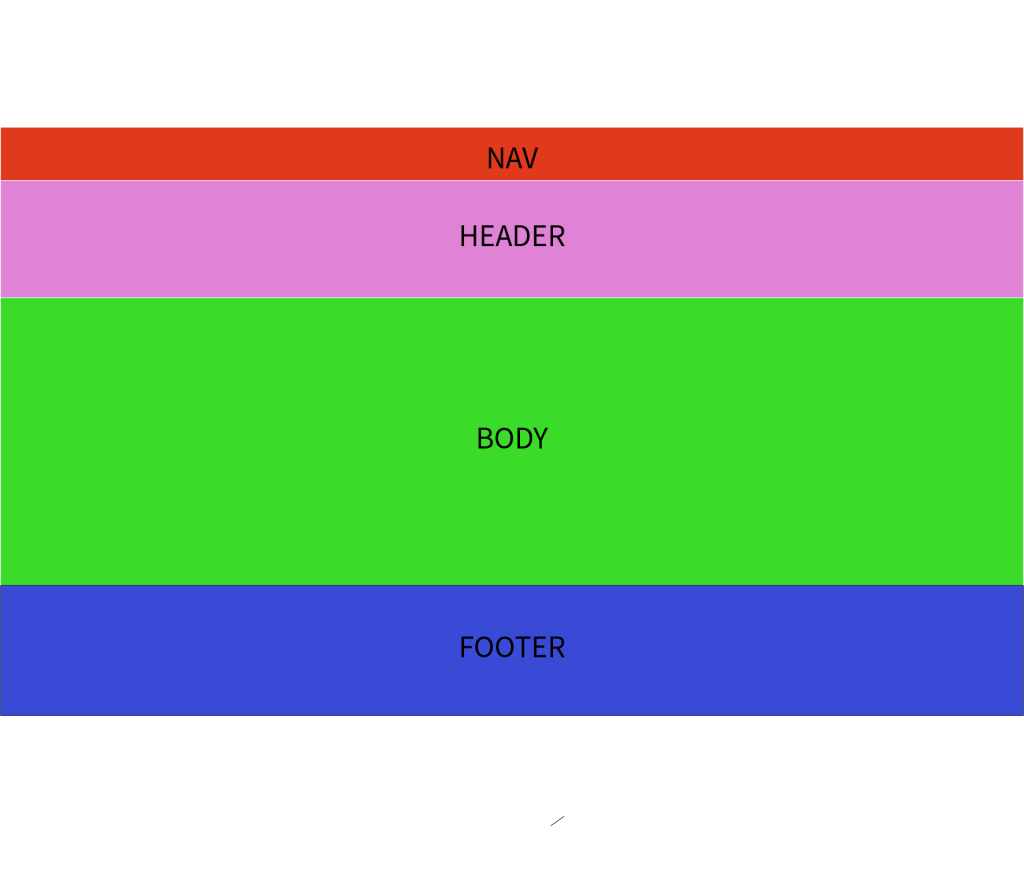
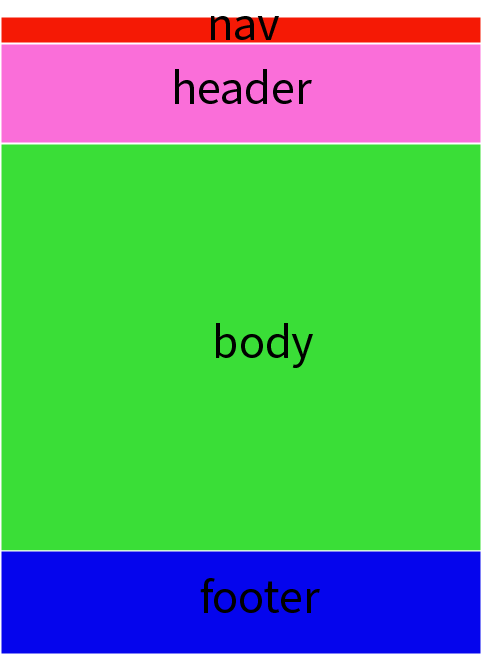
Company overview:

We in Seacycling are a non-profit organization, that focuses on plastic pollution in the oceans, and its effects on the life of sea turtles.

We offer up educational information through our website, social media and webinars. To teach people what they can do to help safe sea turtles across the world!

By doing this we are hoping to spread enough awareness and get enough volunteers to make a difference. Our target audiance is young adults burning for sea life.

Strategic:

Plastic pollution has devastating effects on our marine life, as this is a product that can take centuries to decompose as opposed to just a few years. Sea life is no longer considered organic due to the amount of plastic found within sea creatures. This means that the plastic we leave lying around ends up in the mouths of creatures who can’t tell plastic apart from their food.

Our plan is to reach out trough popular social media platforms such as YouTube and TikTok, to gain awareness around this subject. Younger generations are more easily reachable on these apps and many of them are burning for cases like this. Therefore, we think this will be the perfect way to gain attention.

Our website will function as a way for people to get more educated about the matter and to offer up ways people can volunteer and help in the battle against plastic pollution.

Our competitors would be other buissnies focusing on saving marine life.

Technical Details:

  • What is the domain name? SeaCycling.com
  • What is the scope of the site that was decided upon? Its a website focsuing on saving sea turtles.
  • What social media links should be included? links to YouTube TikTok, instagram

Design:

  • Do they have a particular design style in mind? As of yet this is still being desided and designed.
  • Are there any sites that they prefer in terms of design?
  • Do they have any preferences in terms of colour, font, imagery etc.? We would like to use clamer opcean colours corresponding with sea life, and maybe the sapes of waves or bubbles.

Budget and timeline: (You can ignore the budget for the CA but it will be very necessary for an actual client.)

  • Do they have an estimated time that they would like their site to be live? (Here, you can include the timeline from the CA.)
  • Create a draft project timeline that outlines the progressive deadlines of all the various phases of the project up until the go-live date.
LT 2.2


GRA 2 Week 1 Lesson task 1.3 1.4

LT 1.3

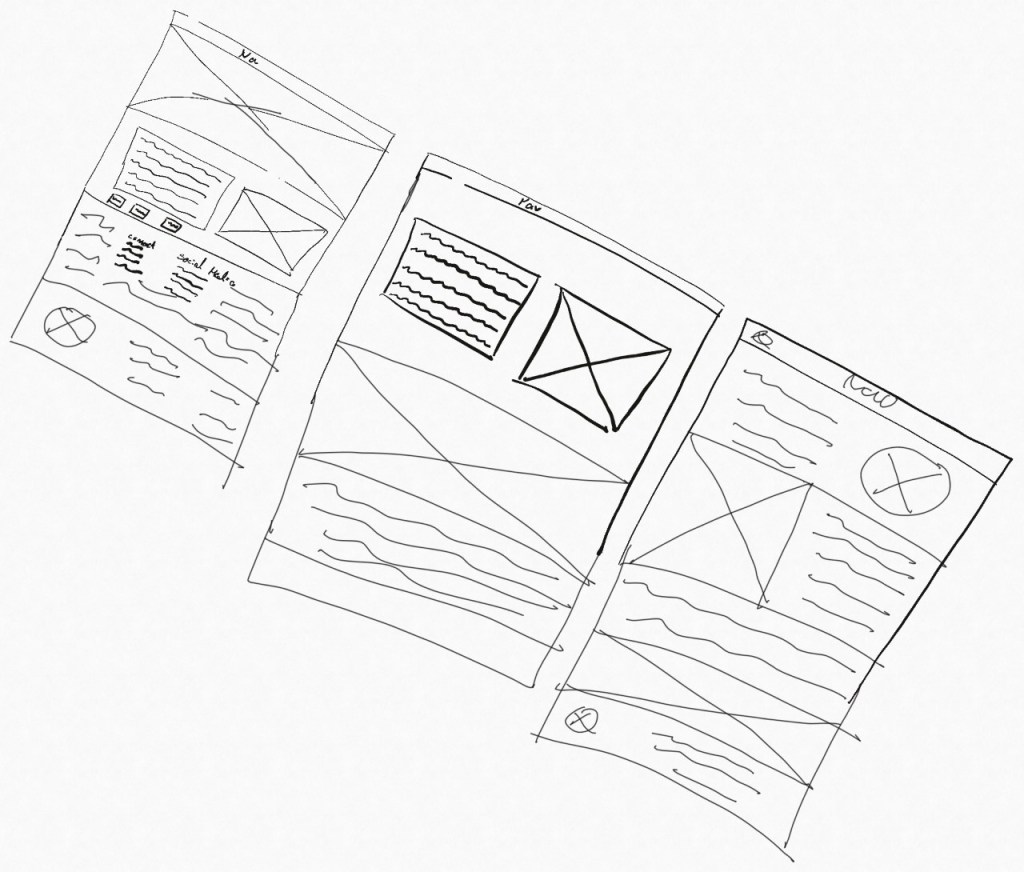
Draft your own website architecture and wireframes
Up till now, you have followed the right process. You have your fictitious client and a consolidated and comprehensive brief in place. Now you can finalise your website architecture and website page wireframes.

  • Sketch out and finalise your website architecture. This should include your primary pages as well as the subcategories within those pages.
  • Sketch out and finalise your website page wireframes. This involves sketching the basic layouts for each of the pages within your website.

LT 1.4

Now that you have your client, client brief and site’s architecture and wireframes in place, you have a clear view of your website’s overall framework and page layouts, and you can get started with designing.

Move over to Figma to start designing and prototyping your website.
The following should be included in your interactive prototype:

Design, layout and prototyping (the website should include a home page and at least two other pages):

  • Client logo
  • Working menu
  • Images (sliders, feature images etc.)
  • Graphics (icons, backgrounds, layering, buttons etc.)
  • Text (headlines, sub-headlines and body copy etc.) Lorem Ipsum can be used for text, but you need to write the headlines and sub-headlines
  • Interaction and animation.

GRA 2 Week 1, LT 1.1, 1.2,

And so another year of graphic design has begun! I cannot wait to see what kind of exciting new adventures and challanges this year will bring me!


LT 1.1

Plastic pollution has a major impact on our marine life. Your job is to create a fictitious, non-profit foundation that raises awareness around this.

Research existing brands and websites of other non-profit foundations that are environmentally focussed (keep their website addresses stored somewhere as they will need to be referred to when designing your website).

Include the following:

  • Foundation name
  • Byline
  • Business concept
  • Profile (one paragraph on how they appear)
  • Vision
  • Audience.

Foundation name

SeaCycling

Byline

A healthier more organic sea life for us and the environment

Business concept

To make a safer and healthier ocean life by informing people of the dangers by plastic pollution, and how it effects sea turtles.

Profile (one paragraph on how they appear)

Everyday more and more sea turtles consume plastic as they mistake it for their natural food. This has devastating effects on their health and life, as well as our own. We want to create an awareness in the fight against plastic pollution by introducing the sea creatures getting harmed, our main focus: the sea turtle.

Vision

Cleaner oceans, happy sea life, more organic and natural sea life.

Audience.

People who fare a lot at sea as well as people interested in sea life and the environment.


LT 1.2

Using yourself as the fictitious client you created in Lesson Task 1.1, create a briefing document that asks and answers the key questions listed below. Note that these questions are a guide, and you can add more if you feel the need.

Your brief should cover these key areas:

  • What is your client’s name?
  • What is your client’s service/product/offering?
  • Who is the target audience for the website?
  • Who are their competitor brands? You would have saved some website reference links in Lesson Task 1.
  • What is the goal/business objective for the website?
  • How are you going to achieve this goal/objective?
  • What is the preferred design style? Are there colour preferences etc.?
  • What is the ‘tone’ of the website? (serious, business/formal, fun, friendly, neutral etc.)
  • How many pages will the site have, and what will the page titles be? (i.e. home, about us, the team etc.)
  • Sketch a draft website architecture (so you can see where your pages and sections will go)
  • What are your suggestions for marketing the site?
  • What are the website design and marketing budgets, and will you be able to propose a way forward that will work within that budget?

The brief should be comprehensive and detailed enough to hand over to any design/programming team and get optimal results.


What is your client’s name?

SeaCycling

What is your client’s service/product/offering?

Information about plastic pollution and its effect on the sea turtle’s everyday life, and how people can be able to help them survive by preventing plastic pollution.

Who is the target audience for the website?

People who love sea life and sea life environment.

What is the goal/business objective for the website?

Providing its target audience with a platform where they easily can find information about a sea turtles life, and information about how they can help.

How are you going to achieve this goal/objective?

By educating our visitors and giving them instructions on how to help.

What is the preferred design style? Are there colour preferences etc.?

A design that’s easy and clean yet welcoming and informative. Our audience should be able to see right away that our cause is sea life.

What is the ‘tone’ of the website? (serious, business/formal, fun, friendly, neutral etc.)

Natural, maybe a little sprinkle of fun in there.

How many pages will the site have, and what will the page titles be? (i.e. home, about us, the team etc.)

Home

About us

Info about sea life

Donate/how you can help

Who are their competitor brands? You would have saved some website reference links in Lesson Task 1.

https://www.seaturtlehospital.org/

What are your suggestions for marketing the site?

Social media platforms as well as a video ad

What are the website design and marketing budgets, and will you be able to propose a way forward that will work within that budget?

$ 5000

Week 33

Lesson Task – Point of Sale

Practical Assignment

Part A

Consider the touchpoints of your brand in general (to ensure that all the elements work together) and then focus on your packaging. Design a set of Point of Sale elements that will promote your product in-store. The set can consist of however many elements you choose. It can be in any format that you would like it to be. Please consider the following:

1. Can customers clearly see your product in your Point of Sale elements?
Do you use your Point of Sale to also showcase your actual product?

2. Brand Integration
Does it integrate with the brand’s look and feel?

3. Designed to sell!
Does it persuade customers to buy your product?

Part B

Brand manual.
Take pictures of your elements and include them in a presentation of your brand called a brand manual or a design manual. Your brand manual should have a minimum of 7 pages and include logo, color scheme, and chosen typography as well as the different elements produced during this 4 week project period (brochure, infographic, packaging, point of sale). 
Hand in your brand manual as a PDF.Tip: Take a picture of a shop’s interior and use Photoshop to show your Point of Sale elements within a “real” environment.


Point of Sale

Point of sale
  1. The customer can clearly see the product displayed on this shelf, as well as the logo of the brand being showed on the top of the shelf in big letters.
  2. The point of sale keeps up the brands look and feel, by the use of the logo, display the product and adding the paw print and dog shadows on the lowest shelf. It keeps a clean, modern and clear look.
  3. The overall design is simple, clean and the colours are consistent. This is a product that will attract dog owners of all kinds. The colour palette focuses on natural colours, like the forest green in the logo and the sand colour on the product itself. This is to give the image of all-natural nature-based food, which will attract customers wanting more nature-based food for their dogs.

Brand Manual


Week 32

Lesson Task

Practical assignment (creative problem solving)

Using the logo you created in Week 1 and the brochure you designed in Week 2, think about your brand and design packaging for your product. Remember that you can decide about the detail of your product. Is it dog biscuits, meat products in a tin, dry pellets or a new and exciting product?

Do your design according to the following steps:

1. Exploration
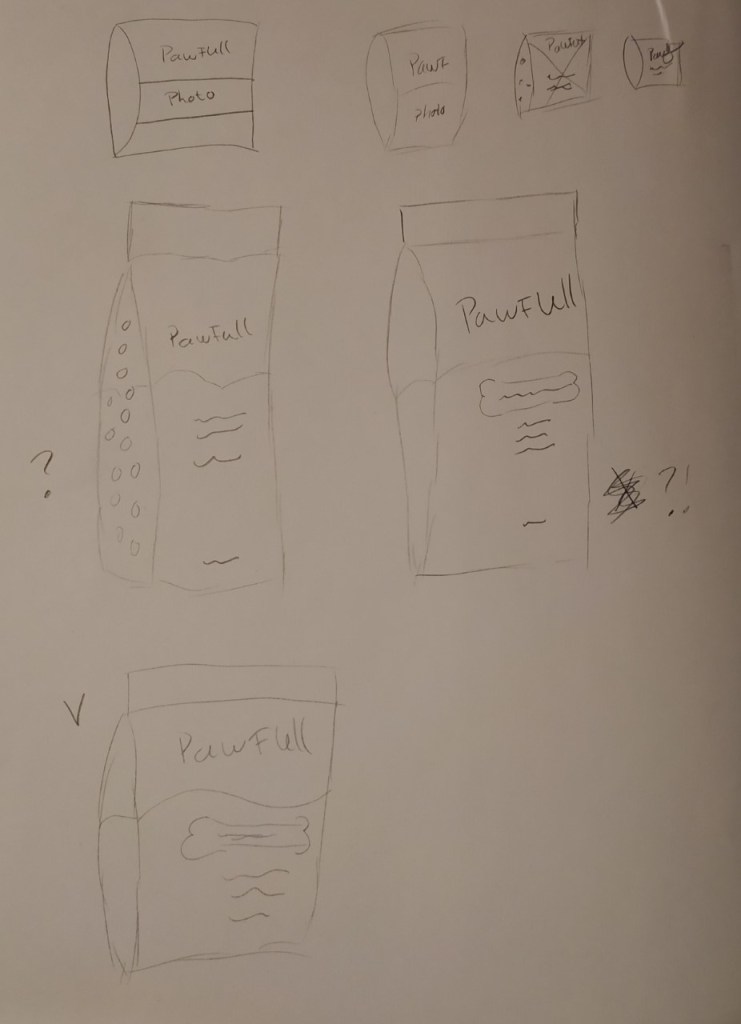
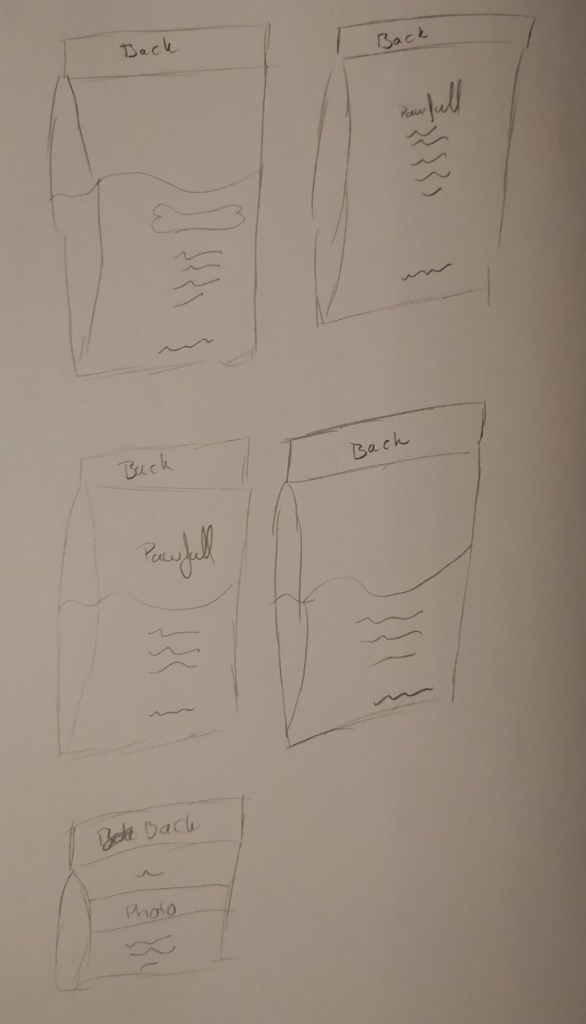
Use sketching techniques to draw thumbnails and hand in your thumbnails as scanned PDFs.

2. Brand integration
Choose one of your thumbnails and refine your design. Place it next to your brochure and logo and see how you can merge your design with the brand identity. Also, what fundamentals of the brand can you draw from and use in your design? Hand in a picture of your thumbnails, mock-ups, logo and brochure together.

3. Design
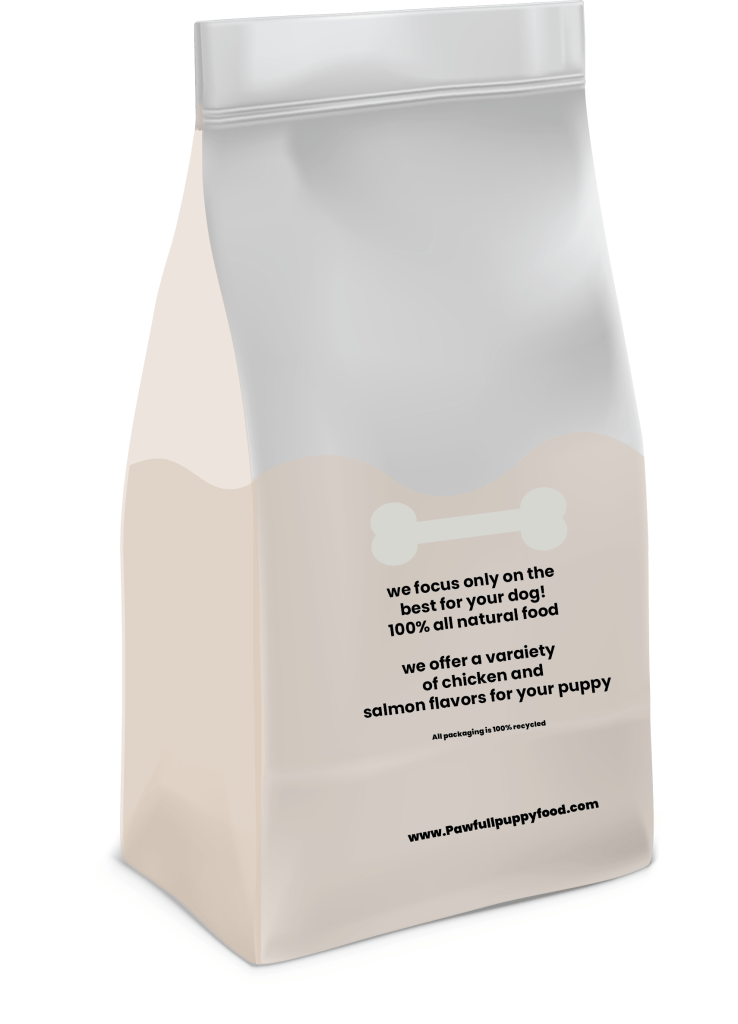
Now design your packaging properly, using any design application of your choice (or a combination of e.g. Photoshop, InDesign and Illustrator). Export the flat design as a PDF.

4. Presentation
Make a life-size mock-up of your final design and take photographs of it. Remember that you can take more than one photo to show the different angles and sides of the packaging. Here your presentation skills are vital. How do you present the final mock-up in a photo to reflect the true essence of your design?


Thumbnails

brand intregation

Logo
Infographic/Brochure

Design/Mock-up

I feel i have kept deisgn consistant with eachother. And used a very modern simple design. It’s easy to see the relations between the products and the brands by use of logo, shapes and colour.


Week 31 Lesson Task – Illustration, Infographic and Brochure

Practical assignment (observation and analysis)

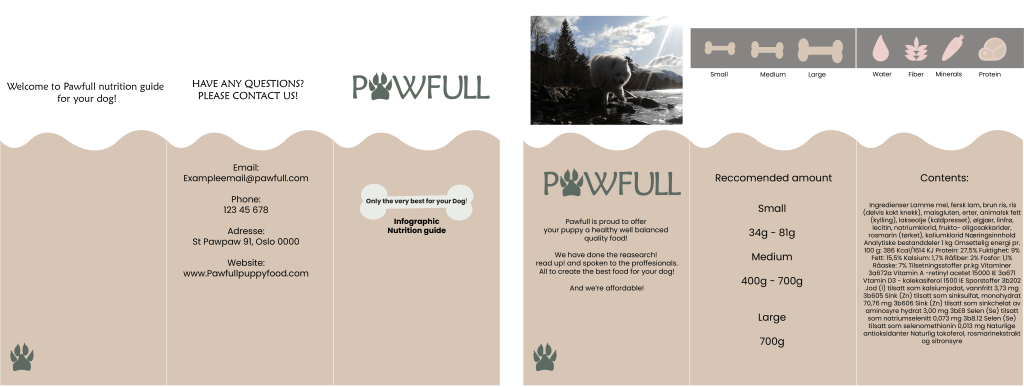
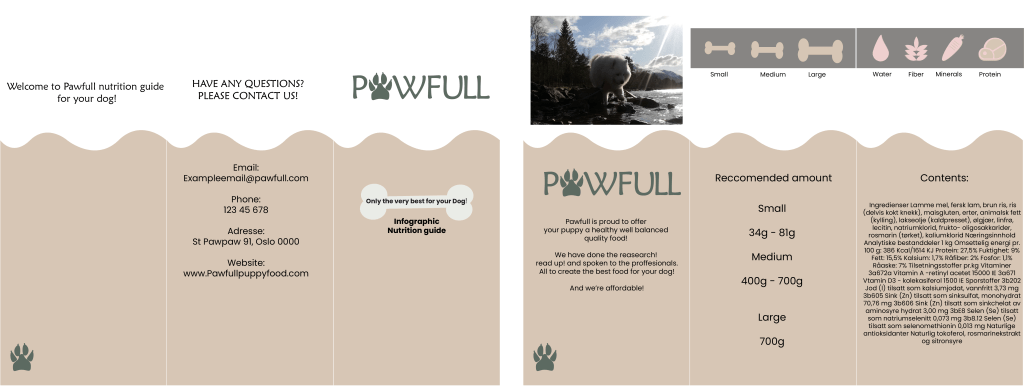
Use the logo you created in Week 1 and design a brochure for your product. You may use any format you like, just make sure that the format is in line with and adds to your logo design. Your brochure must contain an illustration. This could be the infographic alone, or it could be the infographic and the rest of the brochure (in other words, the entire brochure may be illustrated if you’d like).When designing the brochure and creating your illustration, make definite use of the fundamentals of visual language as discussed in this lesson. 
You must illustrate an infographic and design a brochure:

1. Illustration of infographic

The brochure design and infographic illustration should work together. Consider the format and style of your brochure and illustrate an infographic using fictitious data (or you could do research to get a better idea of actual statistics). The infographic must display the nutritious benefit of your product to dogs. It should contain the nutritional value, as compared to the necessary nutrition intake of dogs. It must also give an indication of consumption per size of dog. You may also add information of your choice that you think is relevant.

2. Design of brochure

Design a brochure that introduces your product and includes the infographic illustrated in Question 1. You can decide on the information and format of your brochure. As a guideline, consider a brochure of A4 (lying), folding to A5 (standing). You don’t have to have more than four pages in your brochure (but it depends on your design and style). You must base your brochure design on the design of your logo. Thus, look at your logo and design a brochure that complements and blends in with it.


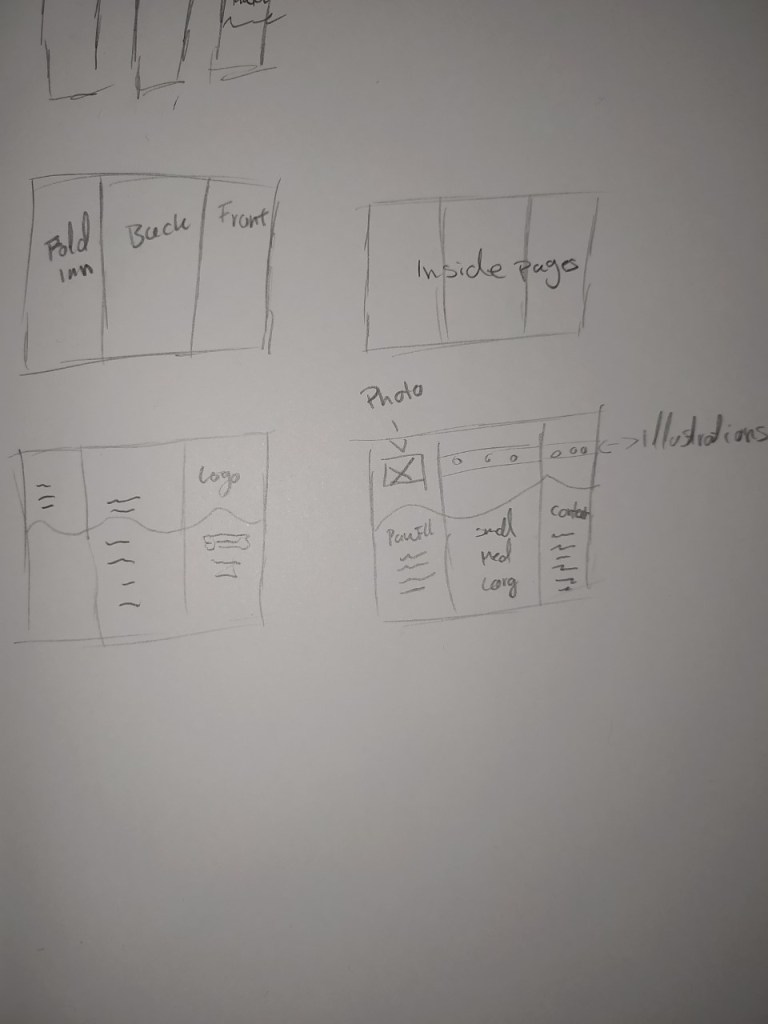
As off week 32 i have made changes to the design to keep the brand alive and consistant, this is the new brochure as well as sketches.


Week 30

Lesson Task

Practical Assignment (observation and analysis)

Develop a name for a dog food product. Design a logo for this product, using full colour. The logo must contain a main visual and typography. (Use the “People Saving Pets” logo as a guide – this does not mean your design should be the same, it is simply an example.) Follow each of the fundamental steps outlined above, in that sequence and take note of what needs to be handed in as you progress through these steps:

  • Exploration – Use sketching techniques to draw thumbnails and hand in your thumbnails as scanned PDFs.
  • Focus – Highlight three of the thumbnail ideas that you consider the best options and state why. Hand in an A4 with visuals of the three chosen thumbnails; include reasons for choosing each of these three options.
  • Construction – Use sketching techniques and redraw ONE of your chosen concepts until you’ve reached a conclusion on a successful logo. Hand in your drawings as scanned PDFs.
  • Testing – Experiment more with your favourite options from Step 3 and ask the opinion of a few people. Hand in examples of the logos shown to people and write their feedback or opinion on each.
  • Refinement – Choose your final design and execute it in Adobe Illustrator, along with the name of the product. Hand in your final logo as an A4 PDF.

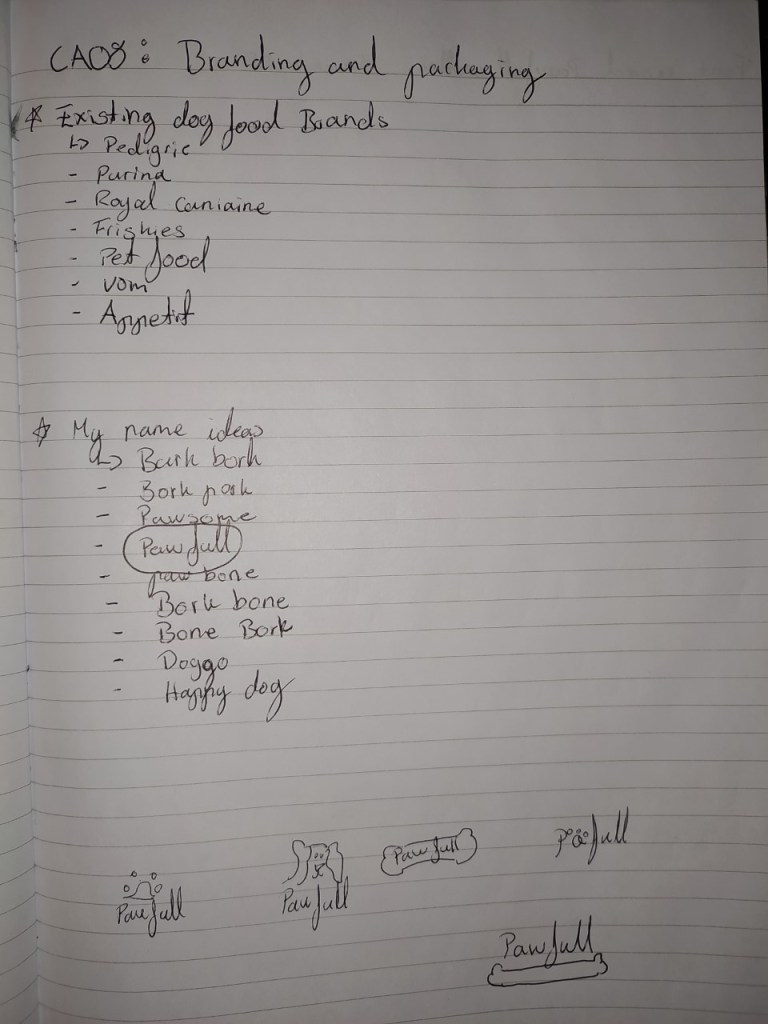
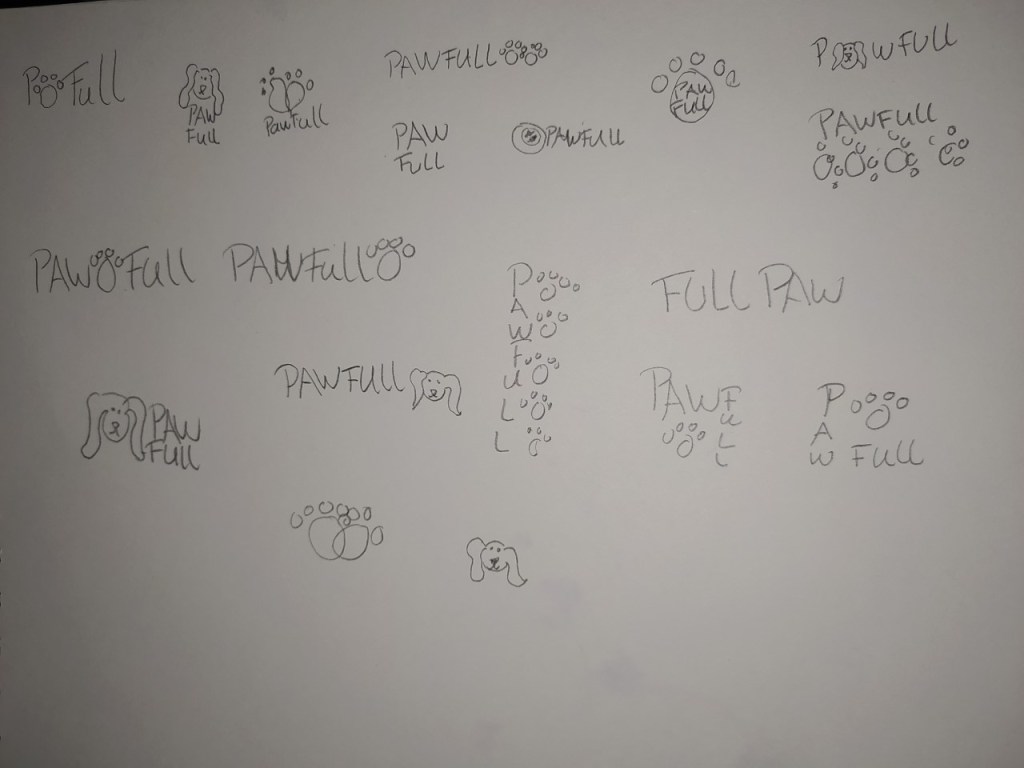
1. Thumbnails, first sketches, Name ideas

2. 3 deisgns i focused on

3. Testing

I tested two of these in illustatror with all the elements. firstly i had to figure out and refine how i wanted my paw too look. then i tested to seee what itd look like in the two options i chosse. This is the option i choose but did not go with

4. The final result of the logo i went with


Week 28-29

Lesson Task – Customise a WordPress Site (8 hours) + Lesson Task – Create a WordPress Theme (12 hours)

1. Take your theme that you have installed on your hosting account or make a new site and add a theme (it’s your choice).
Create a child theme and customise it using CSS and HTML (you can even try PHP if you are feeling brave). Add relevant elements to enhance your SEO. (permalinks, tags, categories etc).

The main idea here is to play around with the various options available for customisation.

Show us before and afters and your process, with a link to your site.

2. To the WordPress website that you started in the previous lesson task, add the hacks mentioned in the lesson: CMS and WordPress part 3.

Then do some research on the Internet and find two more hacks to implement on your site.
Please elaborate on why you chose these hacks and how they will benefit your website. You are welcome to add more too.


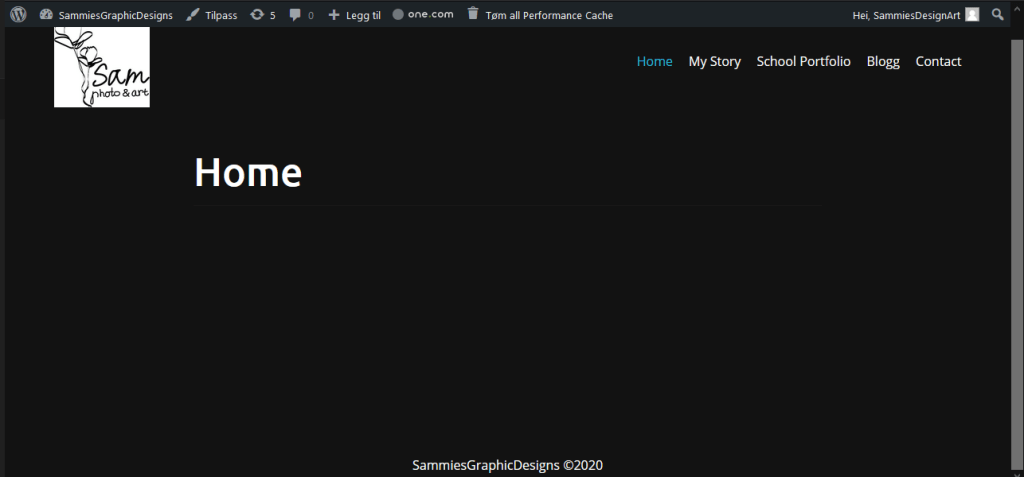
Due to these two lesson tasks being in the middle of a very big assaignment, i only got to start them and chose to mash them together after finding how similar they are.

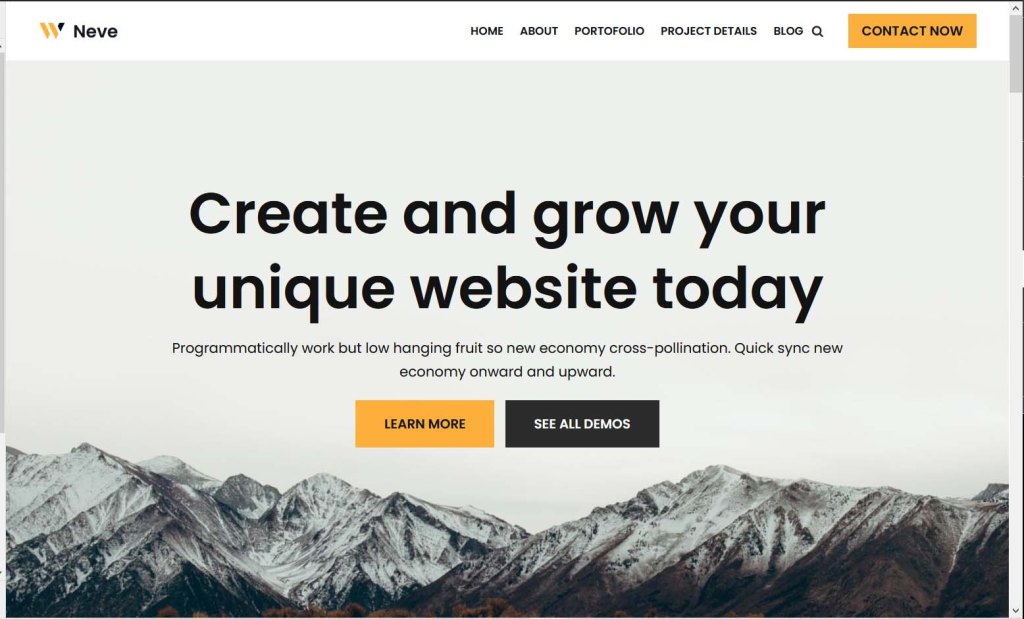
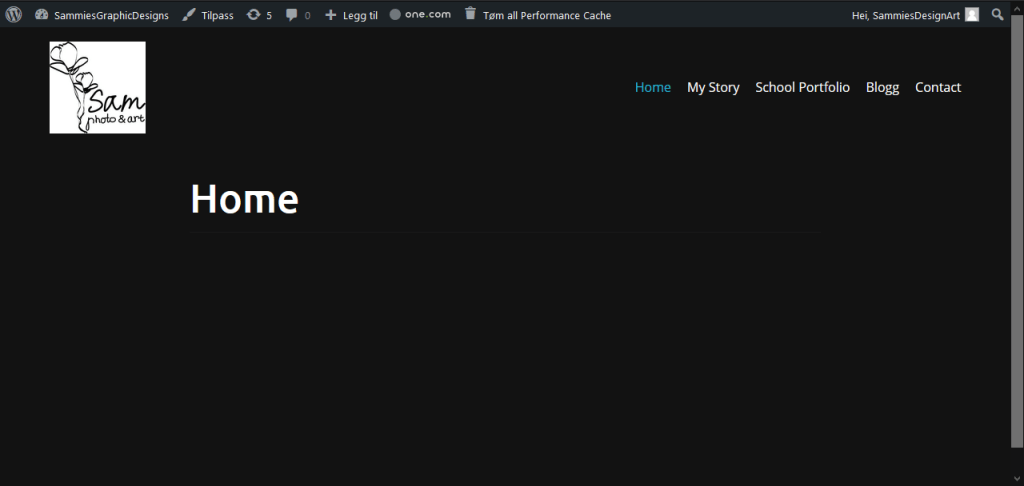
Fot this i choose to work with the theme Neve.


How i started to change the theme, personalize it and create my own child theme from neve:


Week 29 were we are creating our own wordpress theme:

I first had to download the local file from my one.com file manager, before i could open the coding to customise it and create my own theme for wordpress that i could later publish. I also followed the linkdin videos to properly understand what it is i was supposed to be doing.

More photos coming soon.

Week 27 Lesson Task – Working with WordPress

Firstly you need to download and install* WordPress. Then publish it to your web hosting account. Create a subfolder if you wish to avoid conflicts with previous websites.

*Most hosting companies have the option to install WordPress directly. Look into that for your specific hosting company.Once it is installed, you can start having some fun. 
Choose and download a theme that best suits you and install it. Then customise this theme in order to create a portfolio website for yourself.

This will be your test site for the duration of this module.

Week 25 Coding Basics

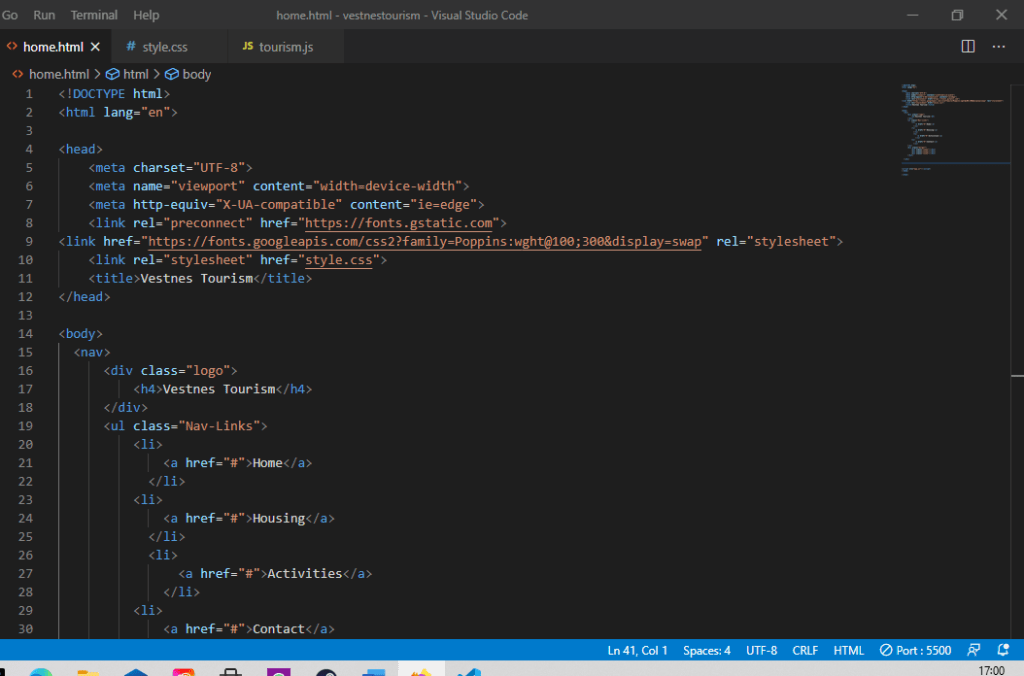
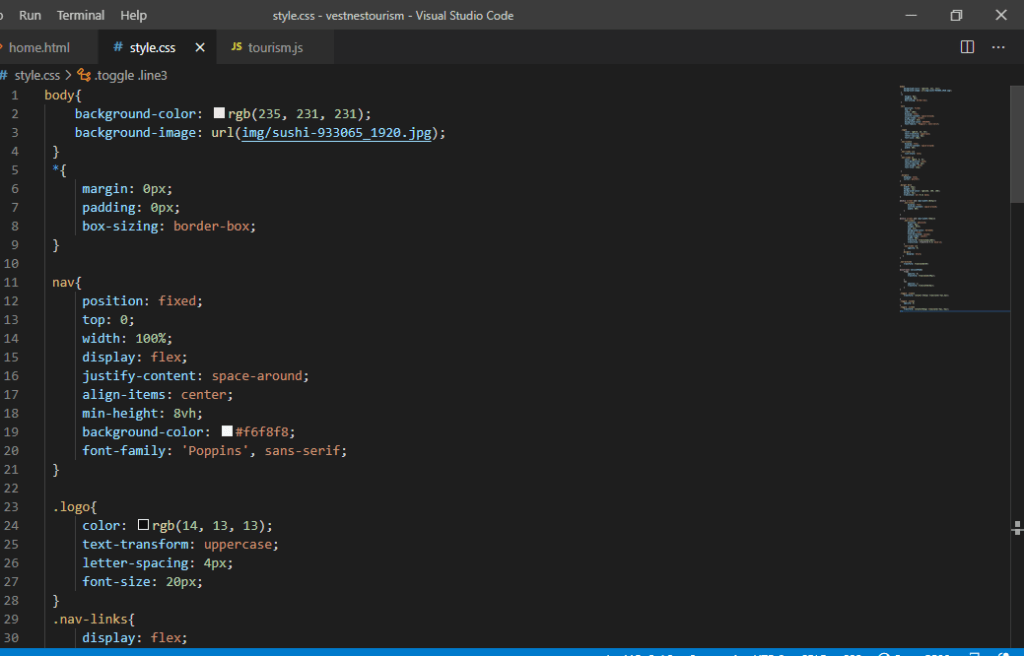
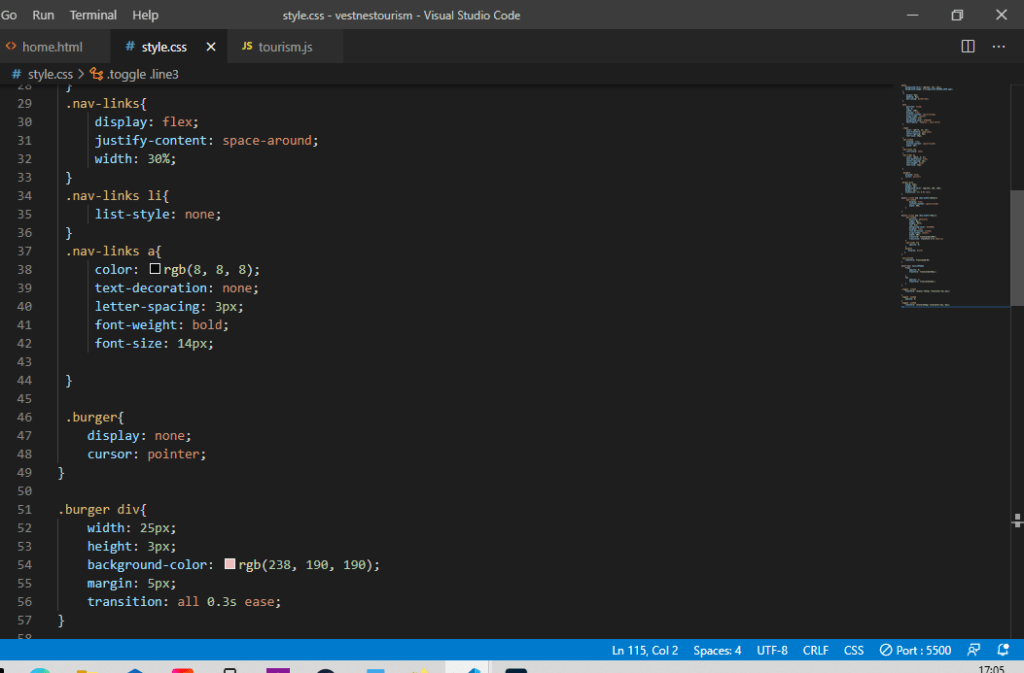
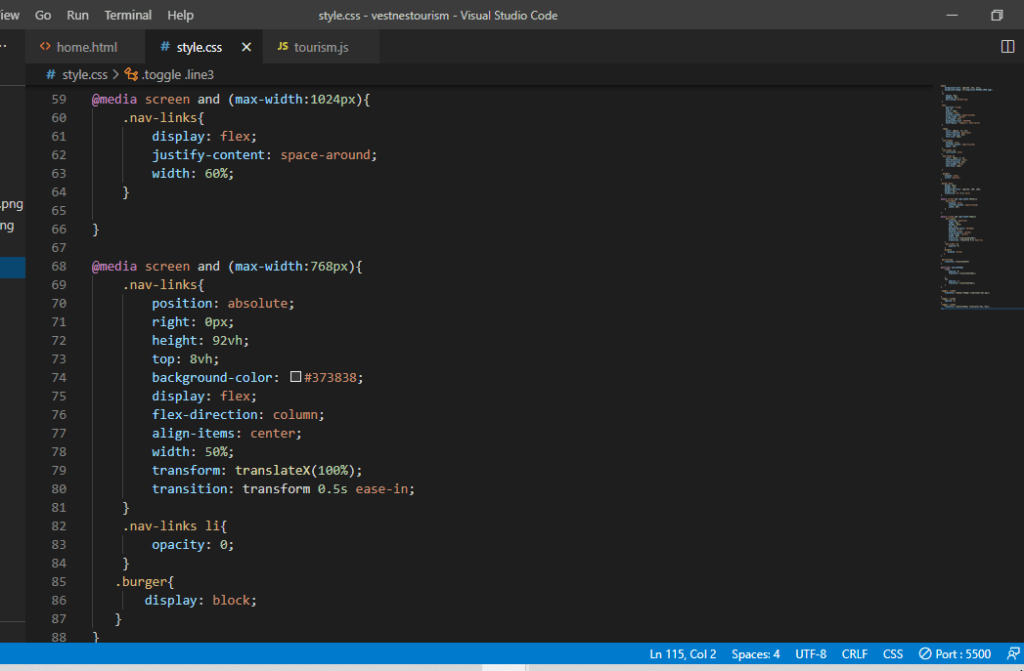
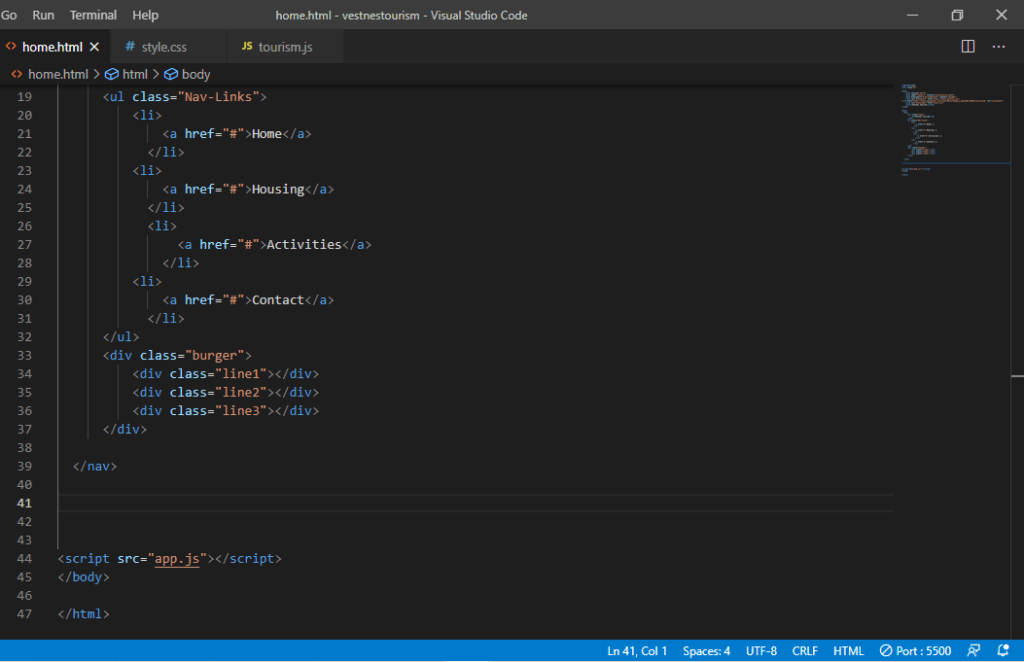
Take the basic website you have designed in your previous two Lesson Tasks in this module (Lesson Task – Put Thought Into Your Design and Lesson Task – Planning the Structure) and convert that into HTML and CSS code.This will help you understand the importance between the design and the programming phase and how they work together.Don’t stress if you can’t get everything right, just do as much as you can.


I did not have much time to write this due to health issues, so the code is small.

Design a site like this with WordPress.com
Get started