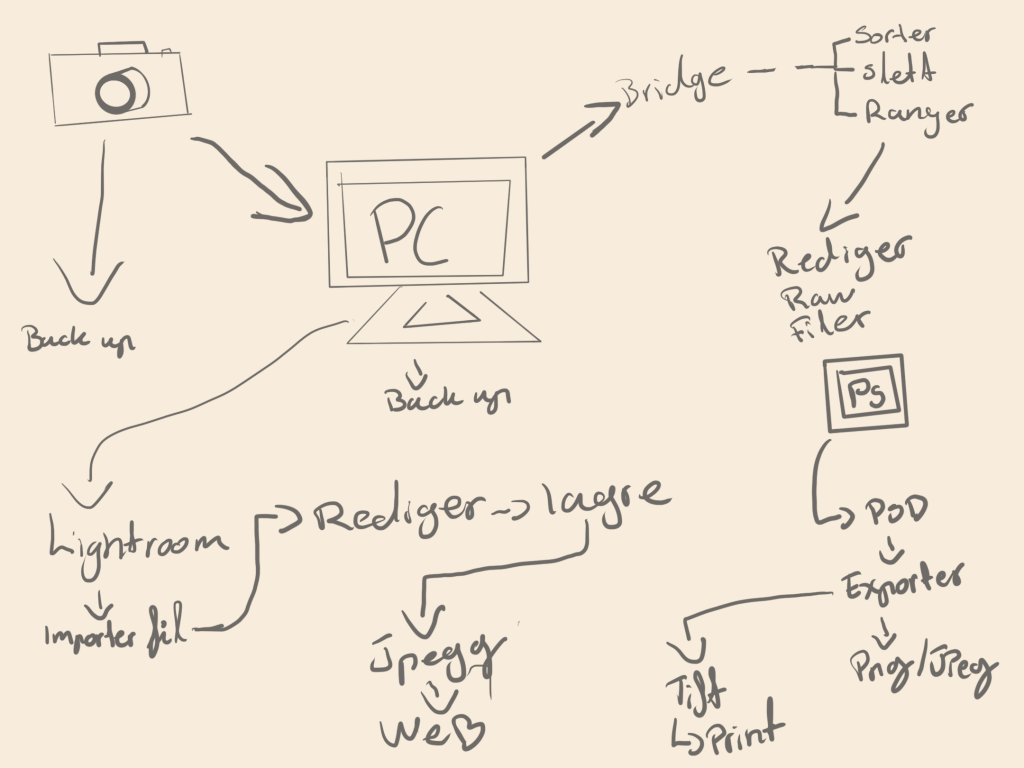
Draw a diagram of your preferred workflow and explain why you take certain steps
Create a checklist for your workflow
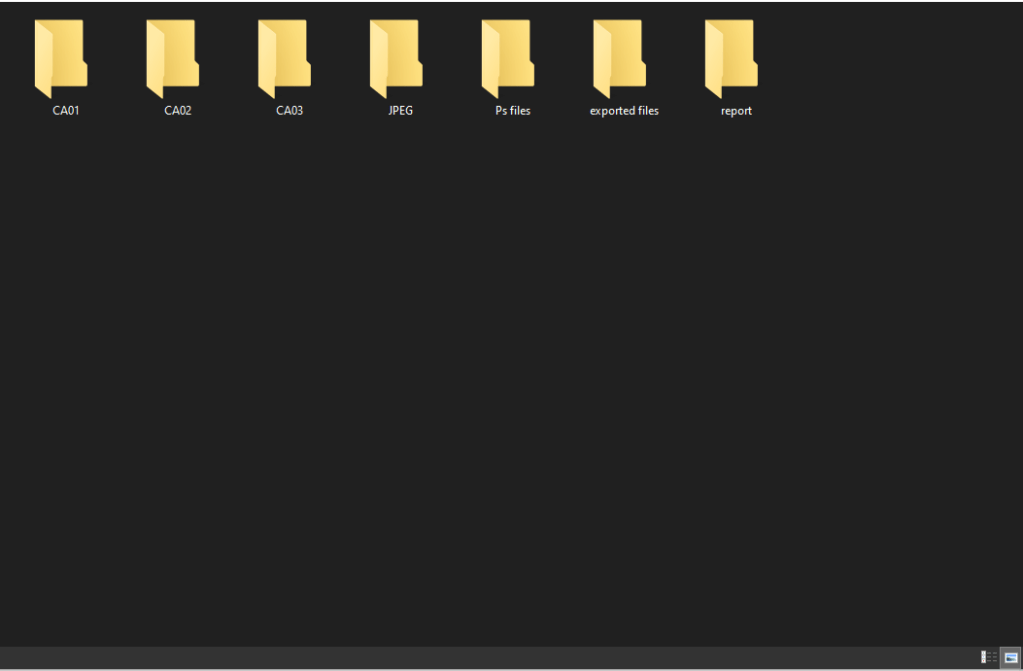
Take a screenshot of your folder structure
Explain why creating backups are so important
Check list
Capture photos in raw file
Import files
Backup
Sort the files, find which photos are going to be used
Edit
Save and export
Make backup of new files.
Example of sorted files
Keppiong backups are absolutley essantial, as it will keep your files safe in case the original ones get lost. Further more it does not look good if you have to tell your client you lost the files.
In your own words, describe the procedure of planning a fashion shoot. You don’t need to go into too much detail, a short outline will do.
What are the stylist’s duties?
List your duties as photographer
What equipment would you take along on the Alice in Wonderland shoot that was featured in this module?
Find an editorial fashion spread in a fashion magazine. Explain what you think the concept was, what equipment they used and how the location affected the concept. Scan or photograph the shoot and hand it in along with your answer
Find inspiration – Find model/Make moodboard – Makeup stylist for model – Build your dream team – Story Board – Find Location – Backup plan – Pack all necessary equipment
The stylist directs the visual reprensentations. Hair/makeup/clothing
My job as a phtographer:
setting up photographic equipment
taking pictures
editing and retouching images
choosing and setting up locations
reproducing and framing photographs
promoting their business (especially if self-employed)
researching and making contacts
general administration.
All needed equipment, a variety of lenses, a backup camera, a difuser, soft box, a backdropp
Work through my sunrise example step-by-step. Upload your version of this project to your WordPress blog. Please note, you will make a better impression if you make this animation your own. Don’t be scared to take things a little further and experiment.
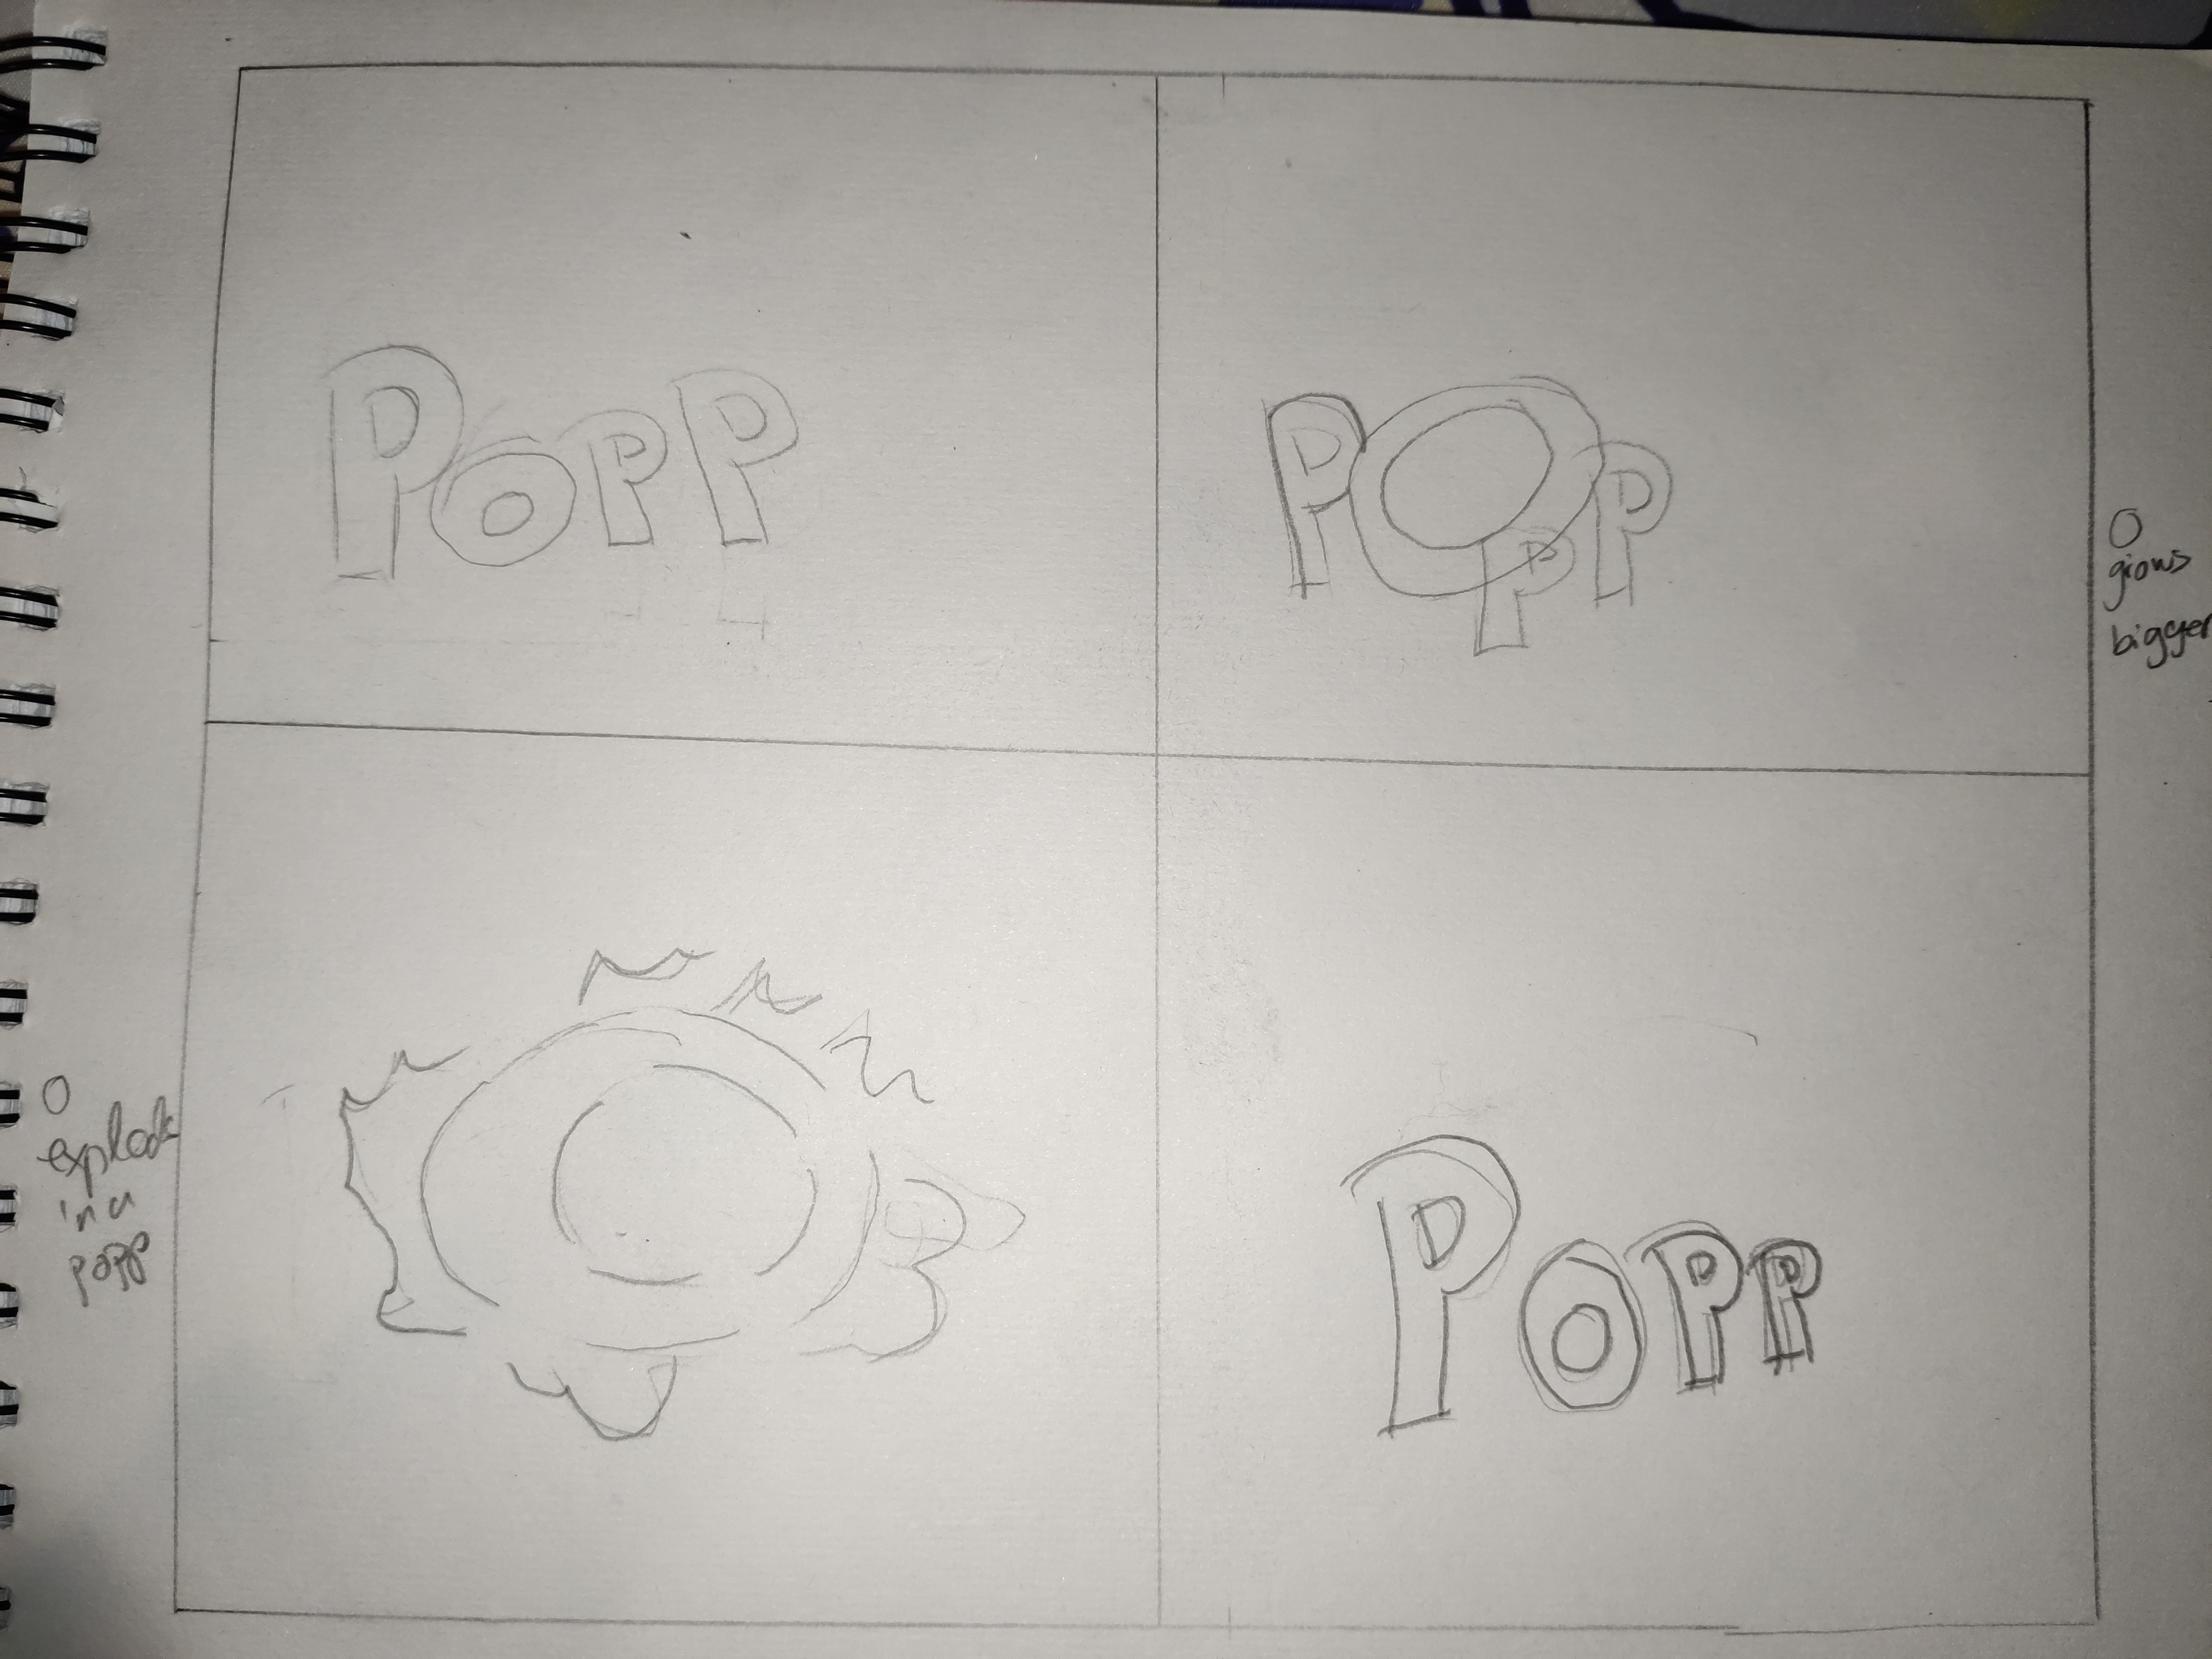
Now you need to come up with a unique animation concept of your own. Create a storyboard for this concept. (Make sure that your idea is not too complicated, but don’t limit yourself by making it overly simple.) Scan your sketches in and upload it to your WordPress blog.
The next step is to create the file and folder structure. Please take a screenshot of your folder structure and hand it in along with your project.
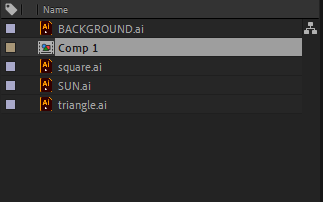
Create your animation in After Effects. Upload your project file and your rendered animation to your WordPress blog.
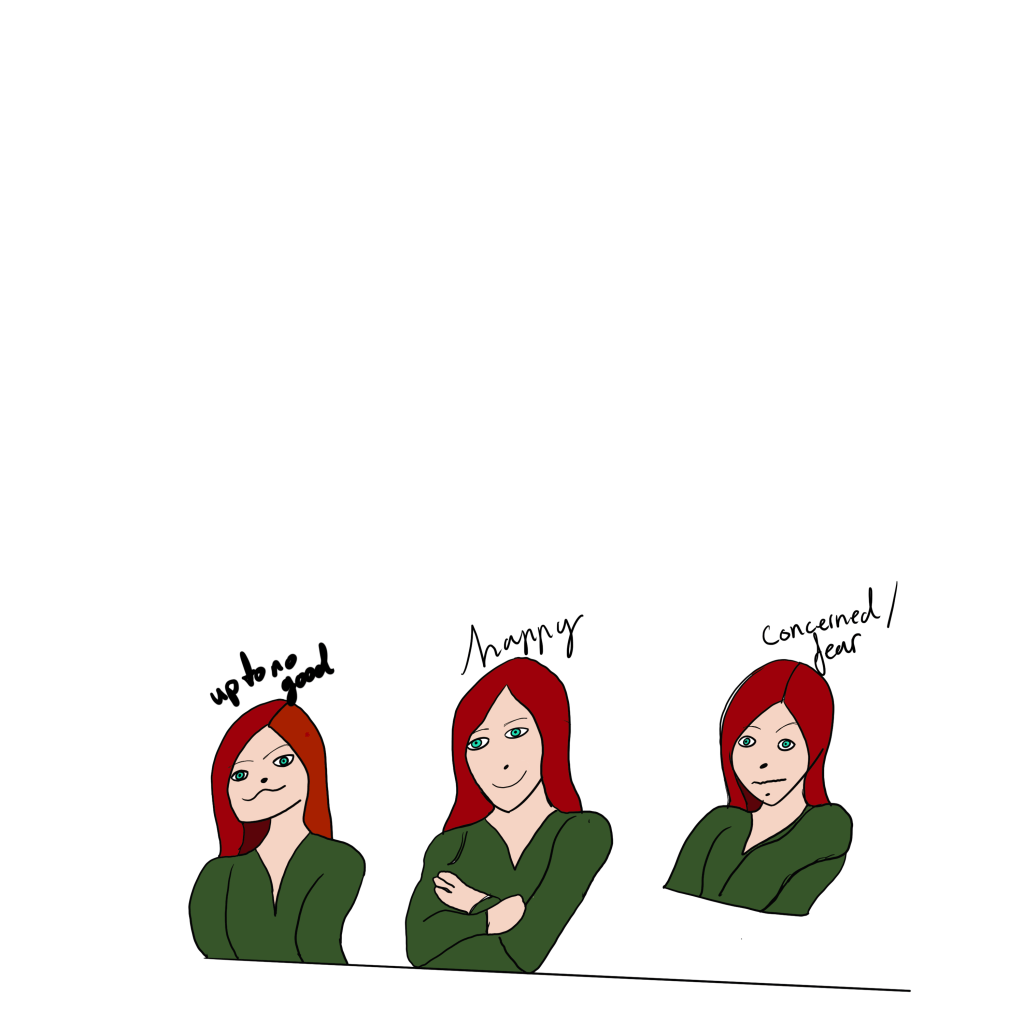
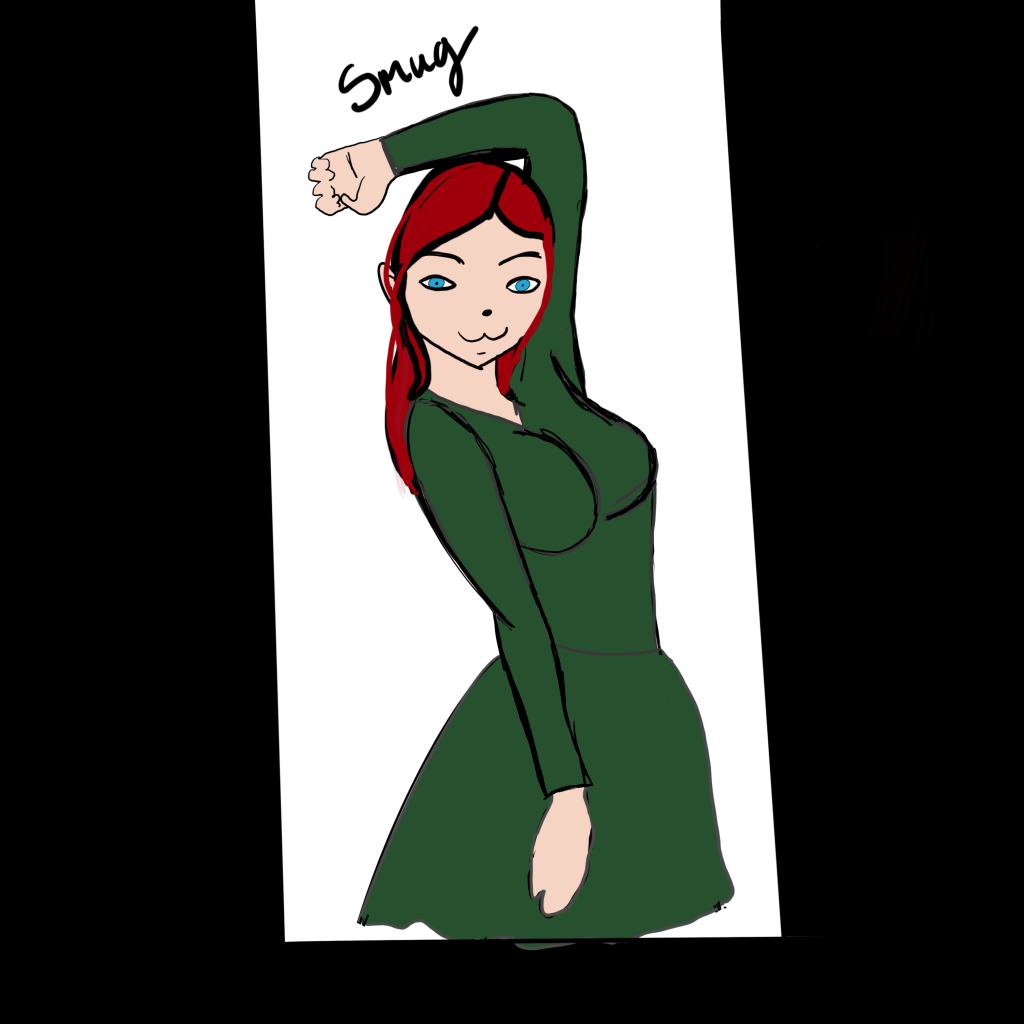
Create a character. This character can be a letter, a person, an animal or any type of illustration, use your imagination. This character will play the main role in your animation.
Take this character and draw it in five different exaggerated poses. In each of these poses the character has to express some kind of emotion (like love, anger, dislike, distaste, happiness and so on). Keep the animation principles in mind when you draw your character.
I would like you to create a mood board and storyboard using a word and its meaning as the concept. For example, you could use the word “prop”. You could then use the “r” to prop up the “p” that keeps falling over. That’s just to give you an idea, be creative and use a word and concept of your own.
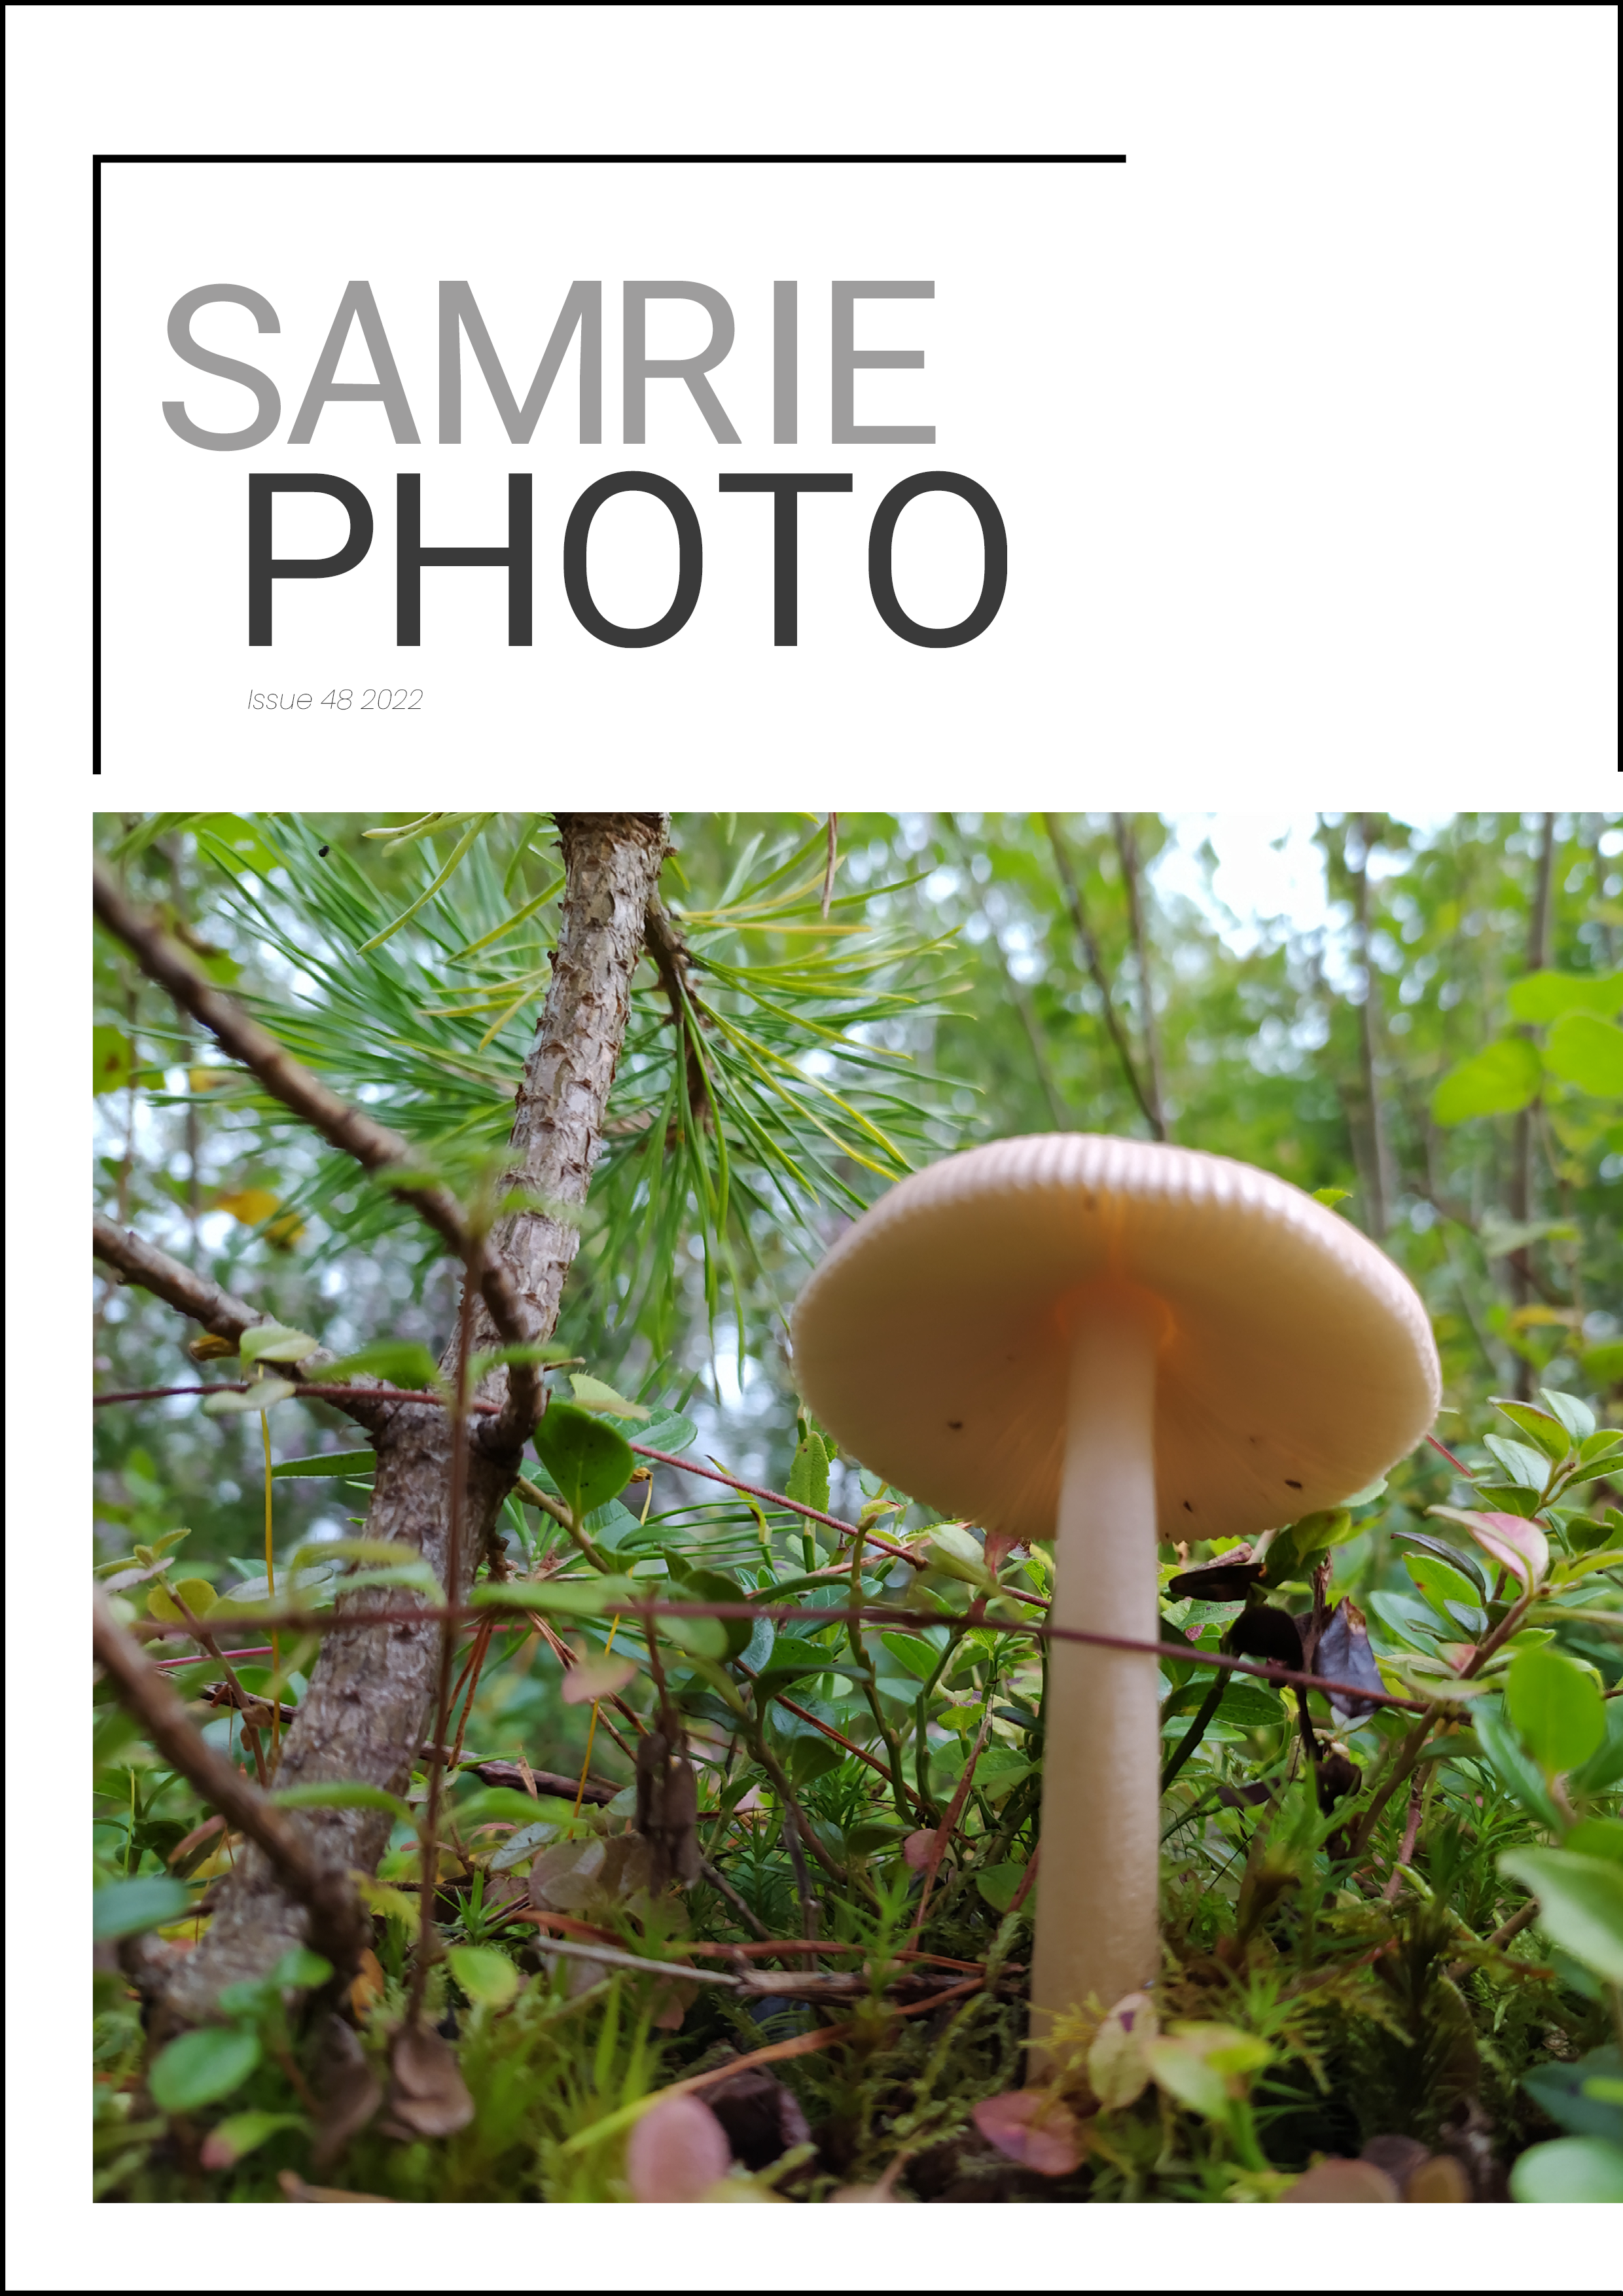
Have a look at all the tasks and lessons you have done over the last few weeks. Your task now is to make a cover (a front page) for your very own magazine.
Go through the Graphic Design history timeline and choose a style and designer that you feel relates best to your personality.
Using that designer and style as inspiration, use your name or part of your name and create a title/name for your magazine. Feel free to be creative!
Add your own pictures, text, illustrations, elements, as well as the proper typography and titles for your cover.
The expression must represent your personality (remember the color choice regarding this).
Remember to include what kind of magazine it is, for example cars/bikes, fashion, design, weddings, etc.
I went for a more minimalist style clean and easy. i was a little unsure of the frame areound the cover so i uploaded the two bestversions i liked the most.
Choose any theme you like to design an A4 “opening soon” poster for the hairdresser.
The poster needs the following elements:
Hairdresser name, e.g. Close Shave Barbers
Opening date, e.g. “Opening on 3 July 2022”
Call-to-action to book an appointment, e.g. “Book now: 123 456 789”
Background imagery
LT 3.2
An American clinic has contacted you to design an A5 poster for diabetes awareness. November is Diabetes Awareness Month. The clinic has given you the following brief:
The purpose of the poster is to encourage healthier habits and to create awareness.
The poster needs a heading: “Prevent prediabetes sooner rather than later!”
The poster needs to include the following text:
Paragraph text: “Prediabetes is a serious health condition where your blood sugar levels are higher than normal, but not high enough yet to be diagnosed as type 2 diabetes. According to the CDC, more than 1 in 3 U.S. adults have prediabetes—that’s 88 million people—but the majority of people don’t know they have it. The good news is that by making small healthy lifestyle changes, it is possible to prevent type 2 diabetes and even reverse your prediabetes.”*
The following tips need to be included with a subheading: “Tips to help manage prediabetes and prevent diabetes:”
Move more: Get at least 30 minutes of physical activity, 5 days a week
Pick foods that are high in fiber and low in fat and sugar
Drink water instead of sweetened drinks
Lose weight, track it, and keep it off
Seek support to reverse prediabetes
A call-to-action should also be included: “Visit your local clinic for a check-up if you would like more information or support.”
LT 3.3
After reading the article above, re-design the poster for the movie Dune. Use what you learnt today about kerning, tracking and leading.
LT 3.4
Create a logo idea for the full company name: Oranjezicht City Farm using what you’ve learnt today. Use Adobe Illustrator or similar software to create the logo.
Practise giving and receiving constructive criticism. Meet up with three other classmates remotely or in person. Each person should take five minutes to present their logo design for Oranjezicht City Farm. After the presentation, each of the other two classmates should offer at least one point where they think the logo could be improved and praise two aspects of the logo.
2 things that could be changed with my logo according to other students. I could have taken time to make it more interestineg and less boring. 2. i could have experimented more with fonts.
2 things that were good. 1. the texture of the corn feild being interpreted so it ties in with the farm theme and its a easy to read font.
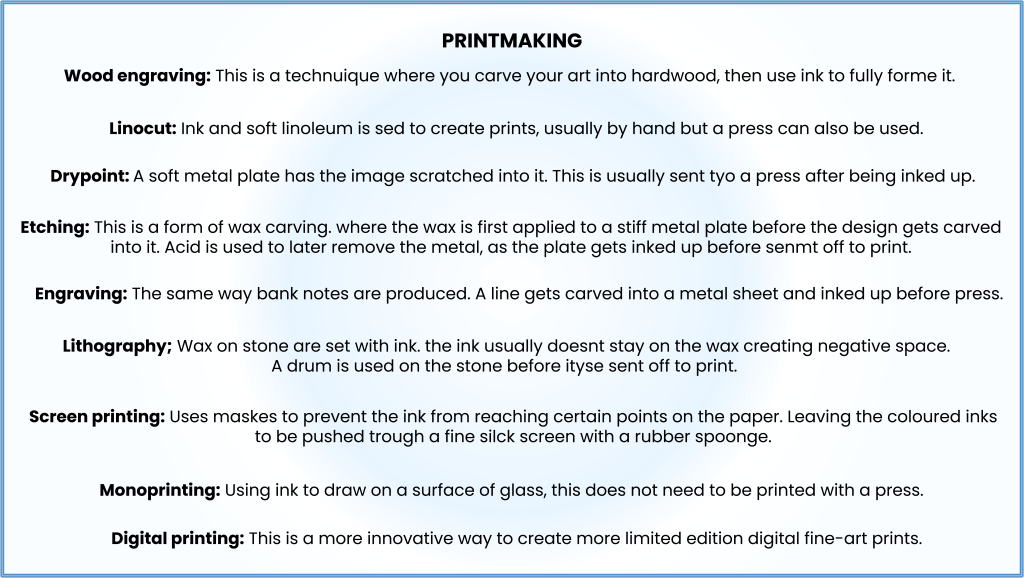
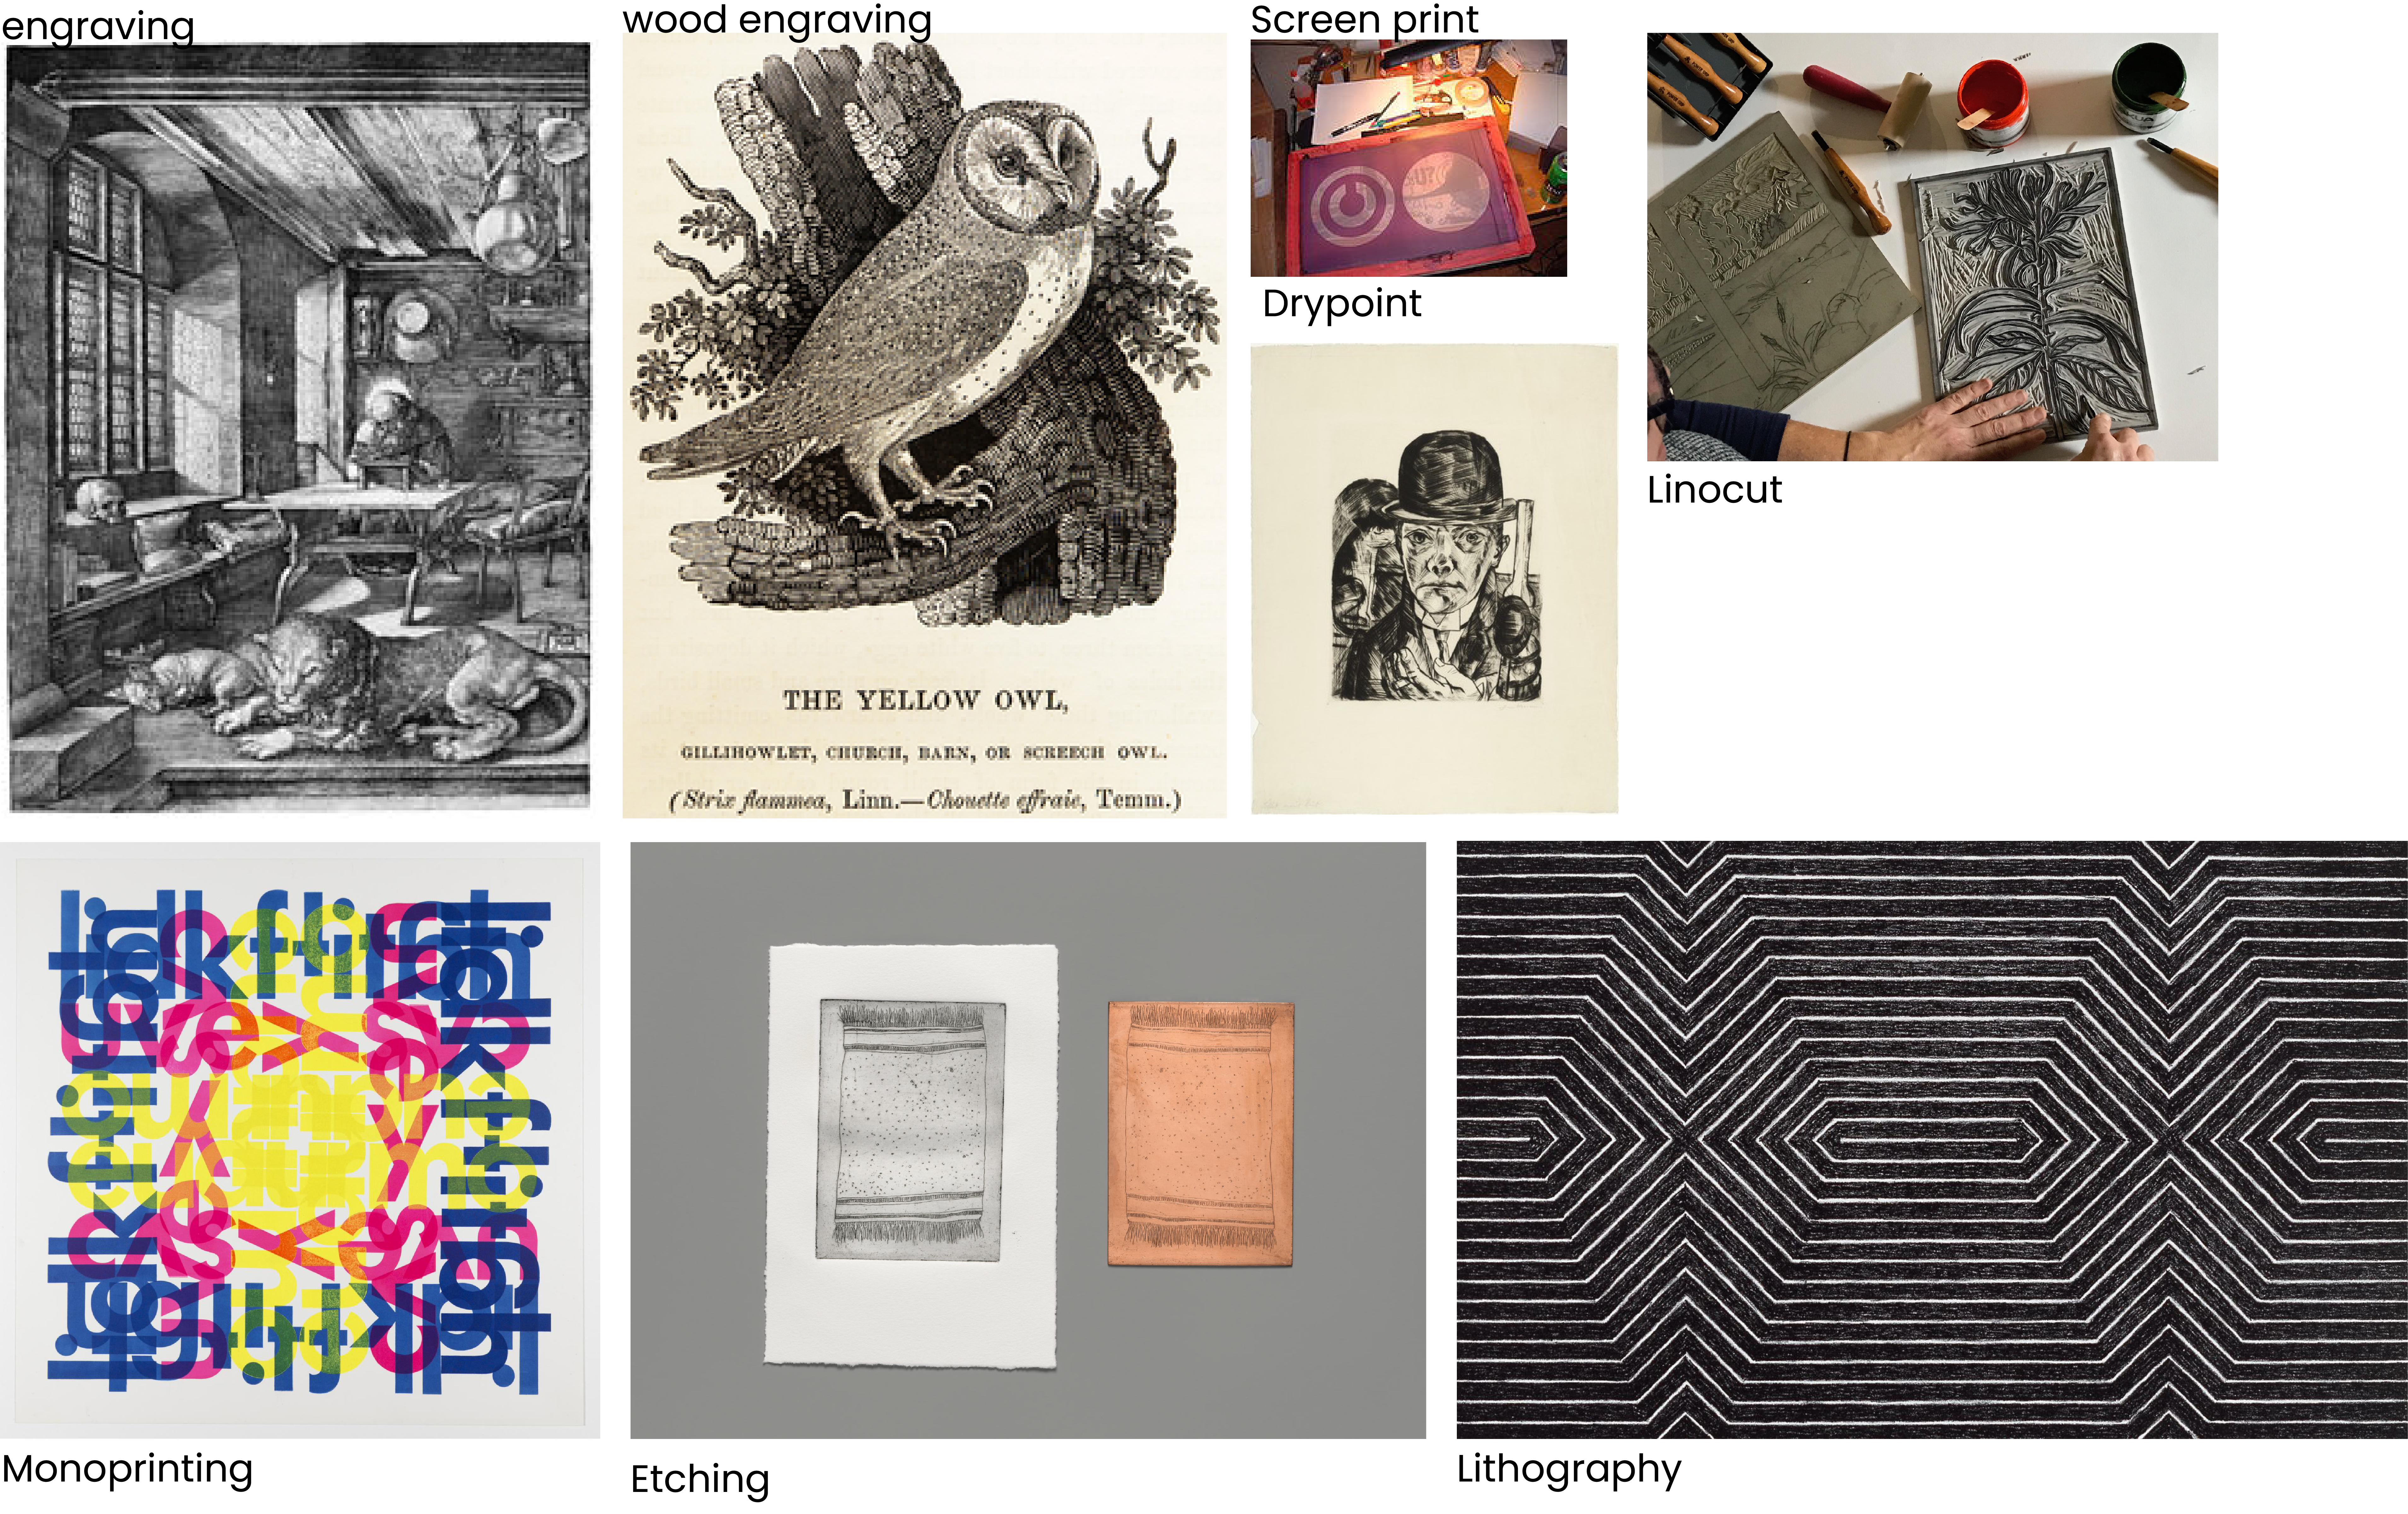
Find examples on the Internet to represent each of those terms
Use your graphite, eraser, eraser putty and blending stub to sketch spheres using the following techniques: hatching and cross hatching, blending, rendering, squiggly lines and cross contour lines (please scan your sketches and upload them to your blog)
Watch the prescribed Adobe Illustrator video on LinkedIn Learning and complete the exercise files
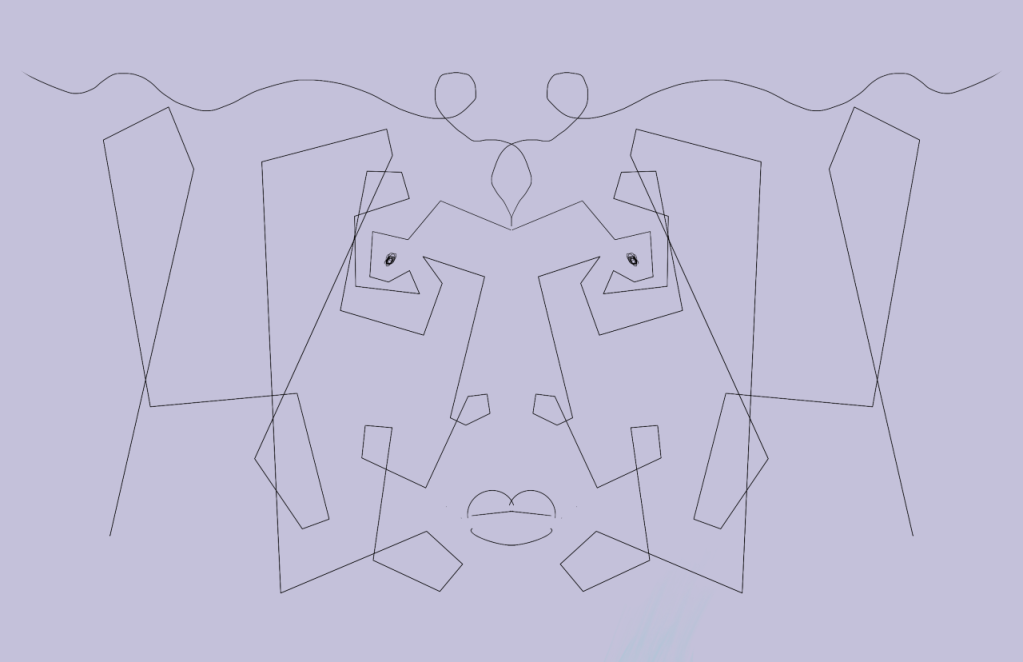
Find a poem that inspires you. Follow the exercise in the lesson and illustrate your poem.
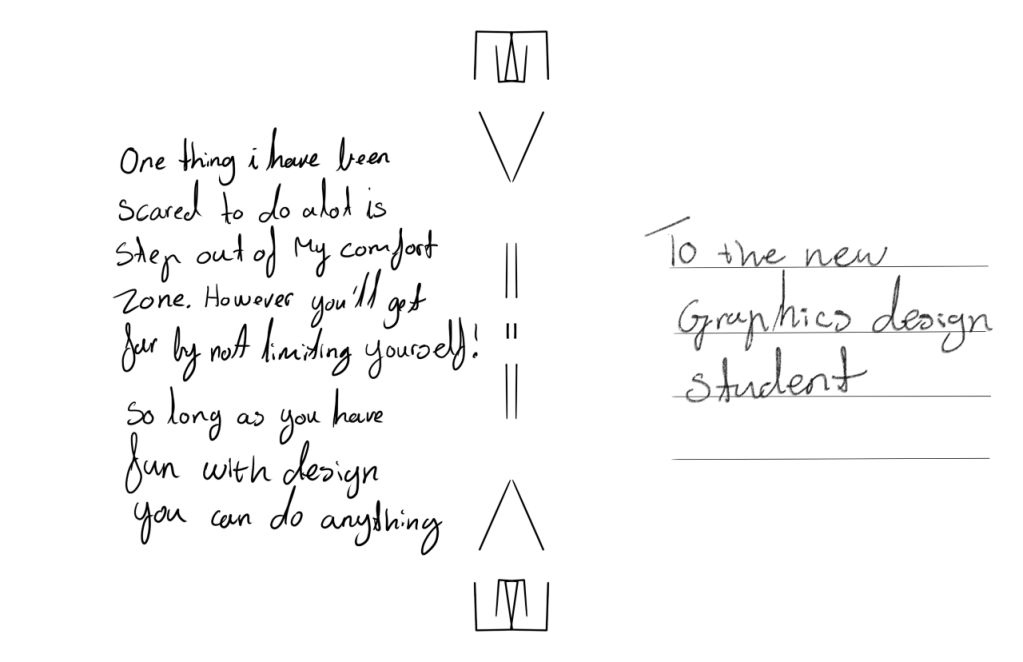
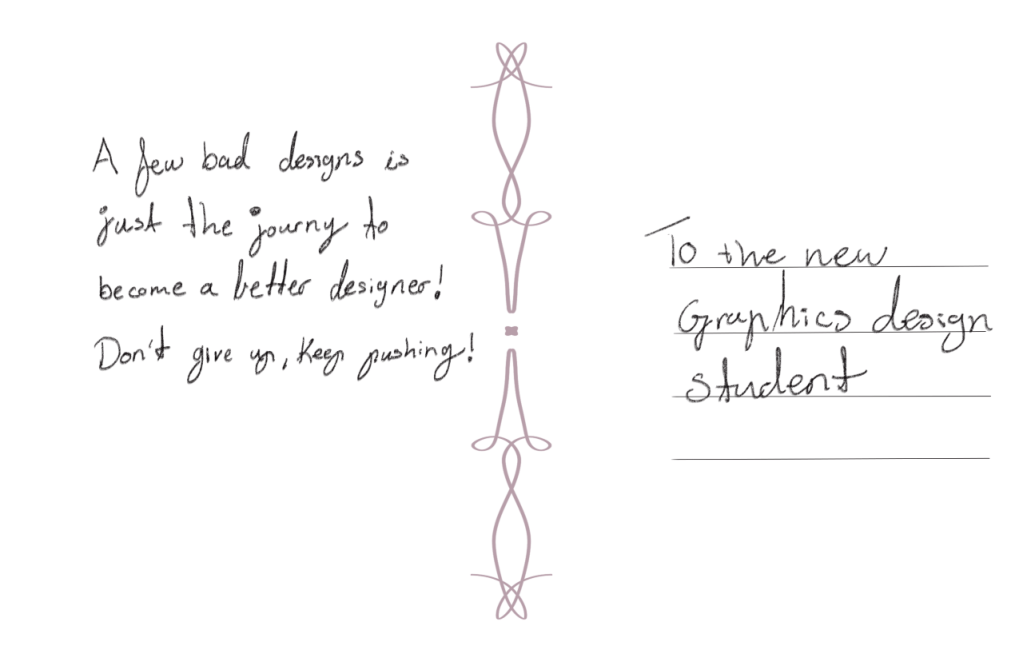
Design two postcards. Each with one piece of advice that you would give a first-year Graphic Design student. You are welcome to make more if inspiration strikes.
During this lesson task, you will become familiar with working in a darker environment and learn how using a slow shutter speed affects pictures of buildings and people.Wait until it’s almost dark outside. Take your camera and go and sit in a busy tourist area. Choose a building or statue to photograph. Place your camera on a tripod and set the shutter speed to 30 seconds or more. (If you don’t have a tripod, something stable like a chair will also work. If you don’t live close to a busy street, just get one or two people (or even your dog) to move up and down past the camera during the 30 seconds). Take a look at your photograph. Do you see people in it or just the building/statue?
Wait until it’s dark. Go and stand on a bridge over a busy street (or look from the window of a high-rise building). Place your camera on a tripod and set your shutter speed to 30 seconds or more. Inspect your photograph. What do you see? (If there’s no bridge or high-rise building close to where you stay, find a street where some cars are driving or ask a few people to help you by driving up and down your street. You could even pay a taxi driver. Ideally, you should capture this from a bit higher than street level. You can ask a hotel in your area to use their window or the apartment of a friend that stays on the second floor or above. Some buildings have a secret stairway to the roof. Be creative but stay safe!)
Ask a friend to help you with this activity. Choose a dark room in your house and switch off the lights. Place your camera on a tripod and set your shutter speed to 30 seconds or more. Ask your friend to “draw” a picture in the air using a flashlight. Take a look at your photograph. What do you see? This fun activity is called light painting. Try an easy pattern first, but also a more complicated one. You can also experiment with different light sources and colours.
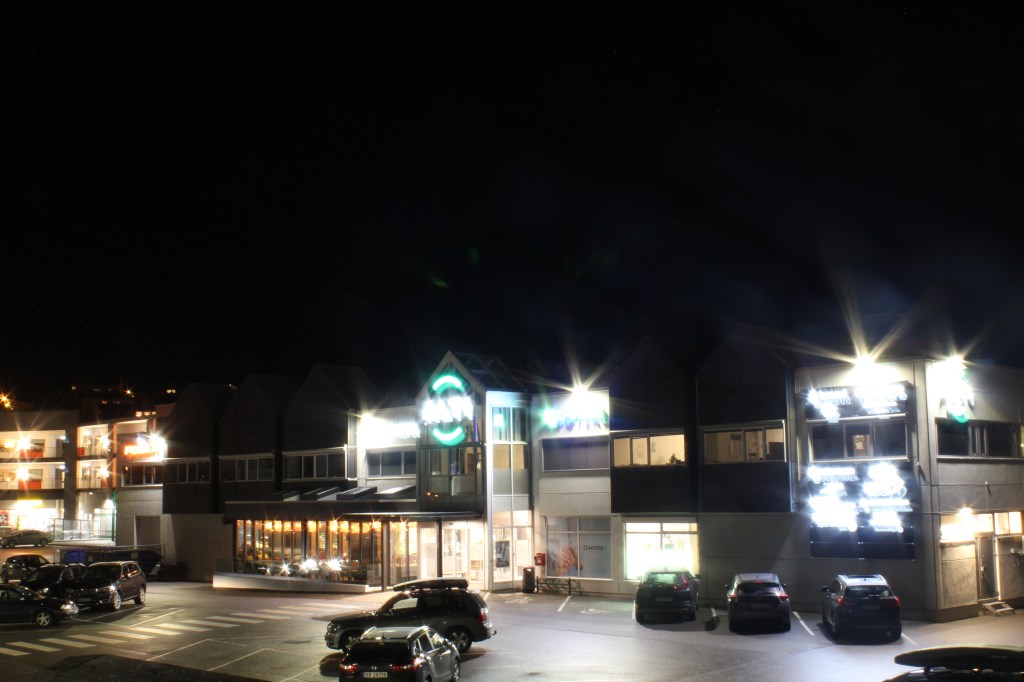
building shutter 30 sek
There isnt really much tourism here at winter time, so the most i got from photo 1 was the local mall, some cars and a lot of lights.
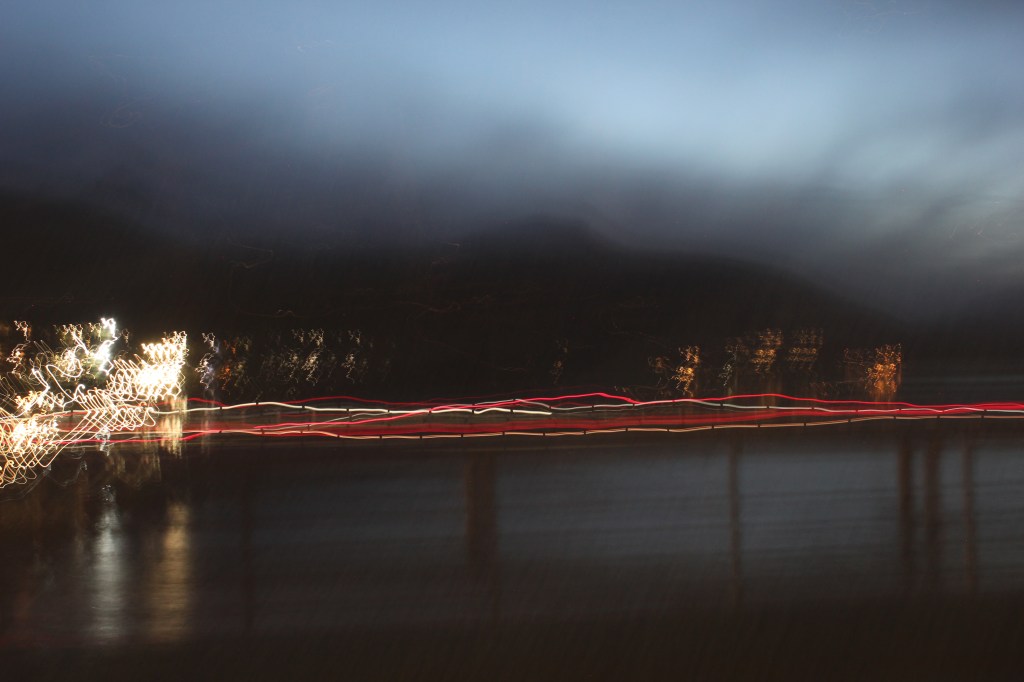
bridge traffic shutter 30 sek
This is taken from a bridge pointed at the main road, showing the traffic lioghts from cars driving trough.
Painting with lights shutter 30sek
I didnt really have anyone to ask to help wityh this so i did it as good as i could myself.
LT 2.2
Describe the steps you will take to ensure that you take a high-quality photograph in low light conditions. Refer to exposure, lenses, tripods, colour temperature, flash and ISO. Your answer should be a minimum of 350 words.
LT 2.3
Take four low-light photographs.The first should be a sharp photograph that focuses on a static object, like a building or statue.
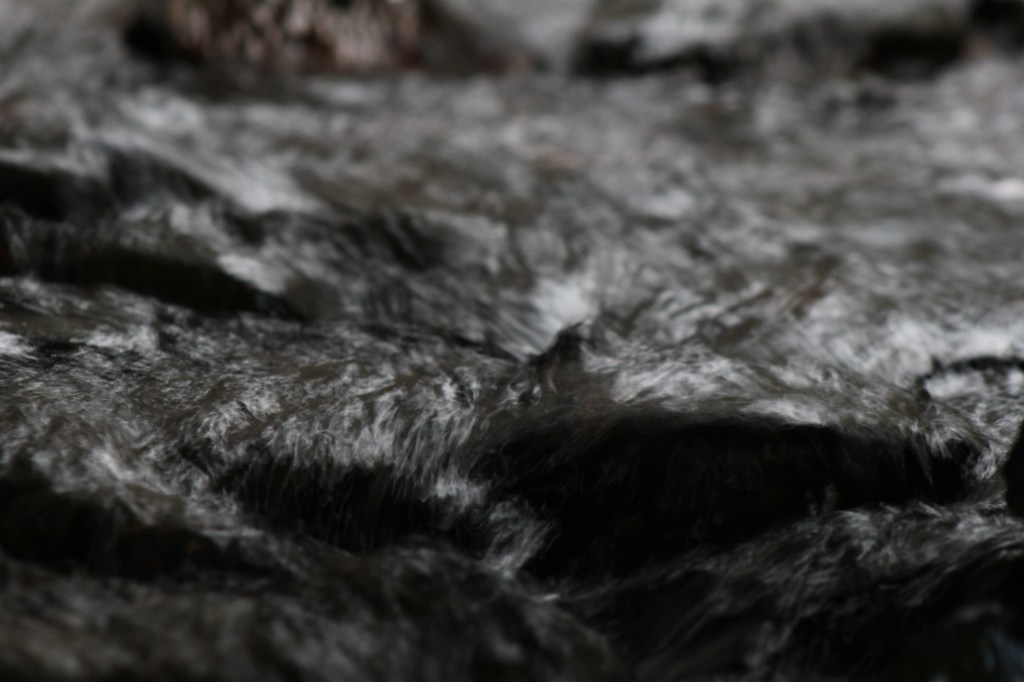
The second photograph should showcase moving objects, like cars or running water.
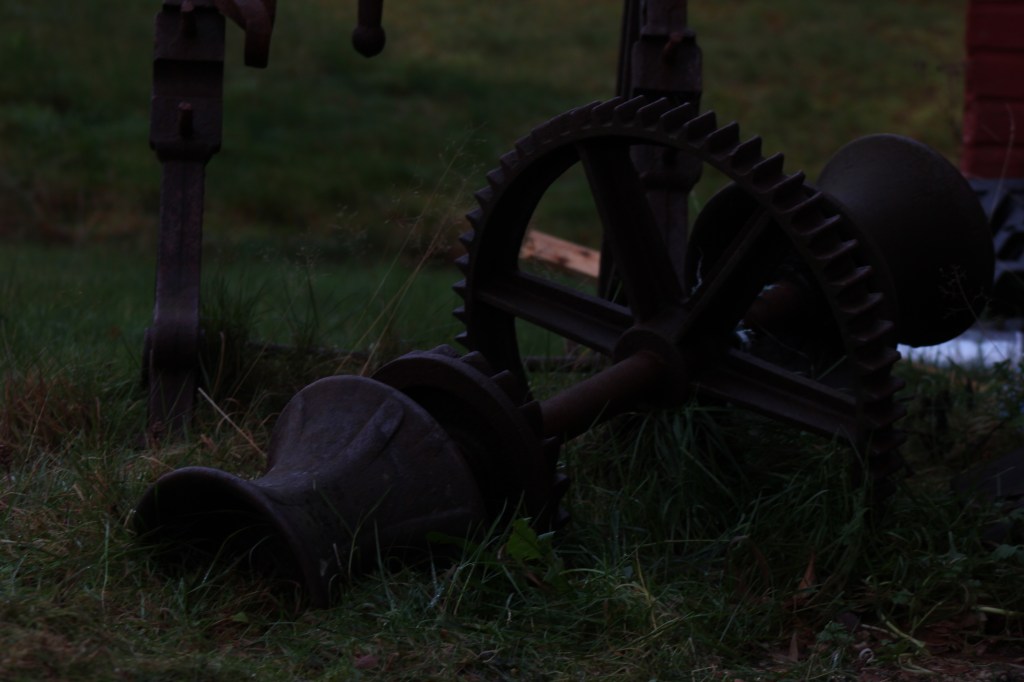
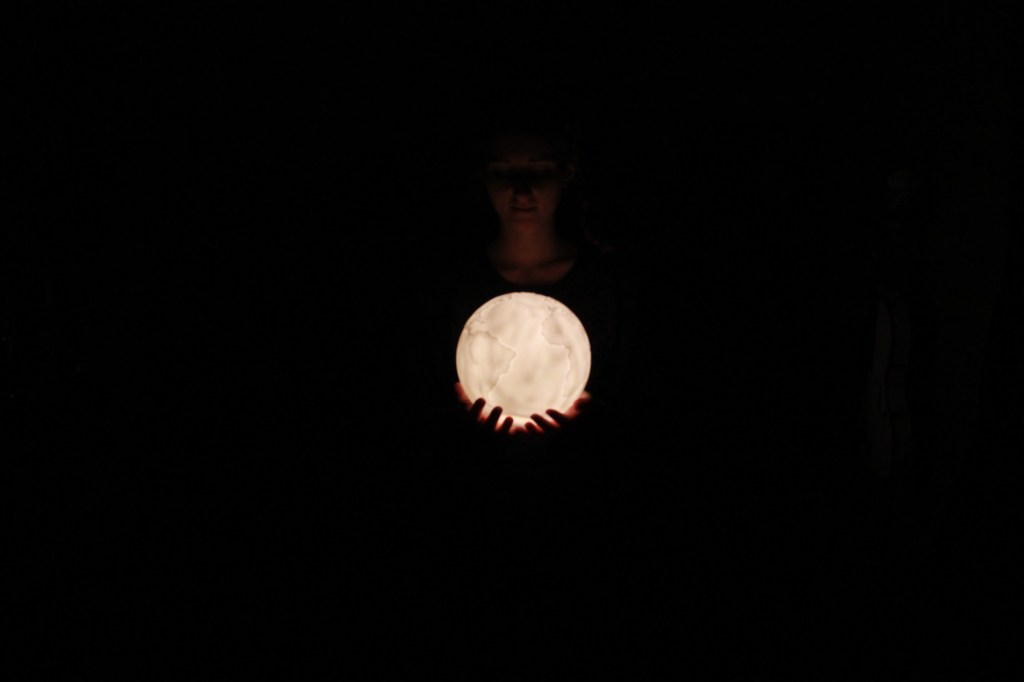
For the third photograph, take a moody portrait of a friend and use high ISO settings to your advantage.
The fourth photograph should explore using external light sources, like a Speedlite flash. (Please note that you may leave it out if you don’t have the equipment to take this last photograph.)